|
| Anne shows off her new reproduction quilt, made by the wonderful Janice. Almost four years ago Janice made a similar quilt for Malachi. He still sleeps with it every night! |
 |
| And here she is showing off her eyelet baby gown, made from a thrift shop curtain. It finally fits, just as the weather turns too cool to wear it. |
 |
| This is the sunbonnet we will be making! The brim on this one is simply quilted with parallel lines of machine stitching that the length of the brim. |
So, for Day 1, here we are!
Day 1: Cutting Out the Sunbonnet
Materials: Approximately 1 yard of fabric, matching or coordinating thread, stiffening agent*.
 |
| Janice included a length of this pretty fabric with the baby quilt. It was the perfect choice for a sunbonnet! |
Note on materials: There is quite a bit of variation in the materials you can use for a sunbonnet. For a dressier bonnet consider using sheer or semi-sheer fabric in a period style print, or with a woven check, plaid or striped design. For a sturdy "everyday" style sunbonnet, medium weight cotton in a period print, check, plaid or stripe works very well as it can be laundered as needed. But be aware; cottons fade fast with routine wear, especially when worn in the sun. Lightweight wool is another option and has many benefits; it holds its color longer than cottons, it "breathes", it is cool in hot weather and warm in cool weather and does not show wear and tear as soon as cotton may. For a hood suitable for winter wear, choose wool or silk and line the bonnet with silk or polished cotton, extending the width of the brim so you can have a turnback, showing off the lining or facing.
*These instructions are for a quilted bonnet, which uses cotton batting for the stiffening agenst inside the brim. You can, however, easily make a corded bonnet by sewing in multiple rows of narrow cotton cord into the brim (sandwich between the layers of the brim and sew close to the cord) or you can make a slat bonnet by sewing channels into the brim and then inserting thin cardboard slats to stiffen the brim.
Cutting:
Wash, dry and press your fabric.
The first piece to cut is the brim piece. For this, cut a rectangle 20" long x 15" wide. Fold the rectangle in half, wrong sides together and press, so that the rectangle now measures 20" long x 7.5" wide.
 |
| Here you can see the brim piece, folded and pressed. The cotton batting is the piece on the bottom. |
Cut a piece of cotton batting 20" long x 7.5" wide. Set aside.

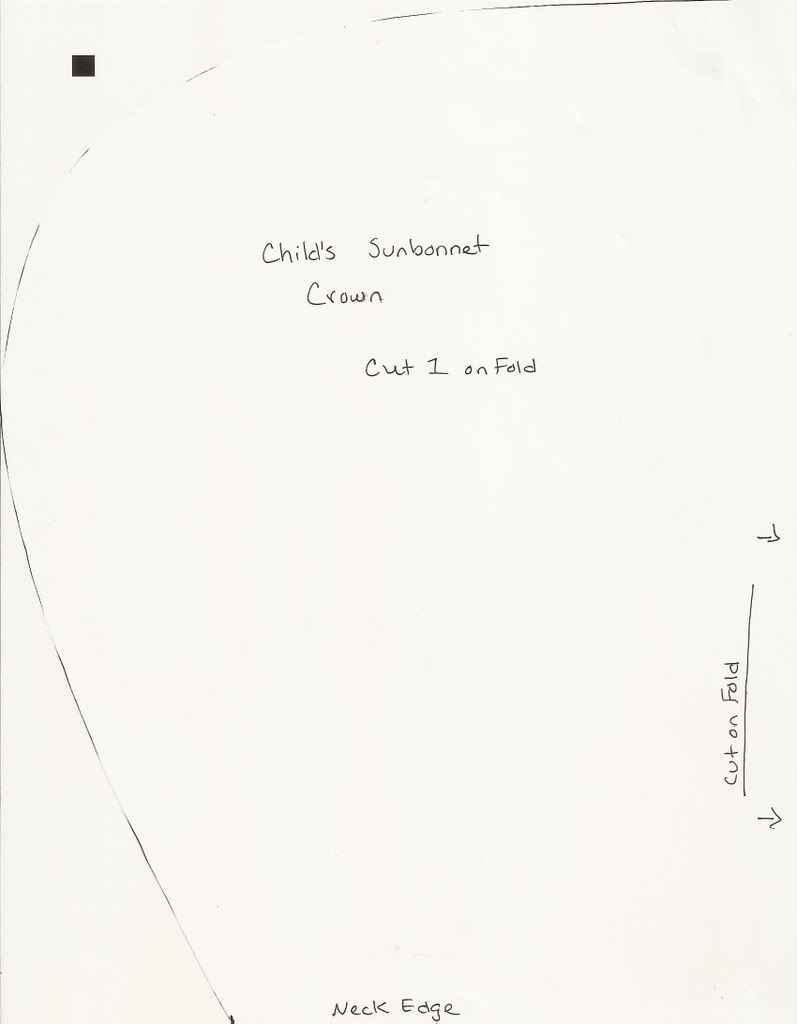
Now cut out the crown of the bonnet. Cut a rectangle 12" x 18". Press in half so the rectangle measures 12" long x 9" wide. Round off one corner of the rectangle so that you end up with an upside down "U" shaped piece.

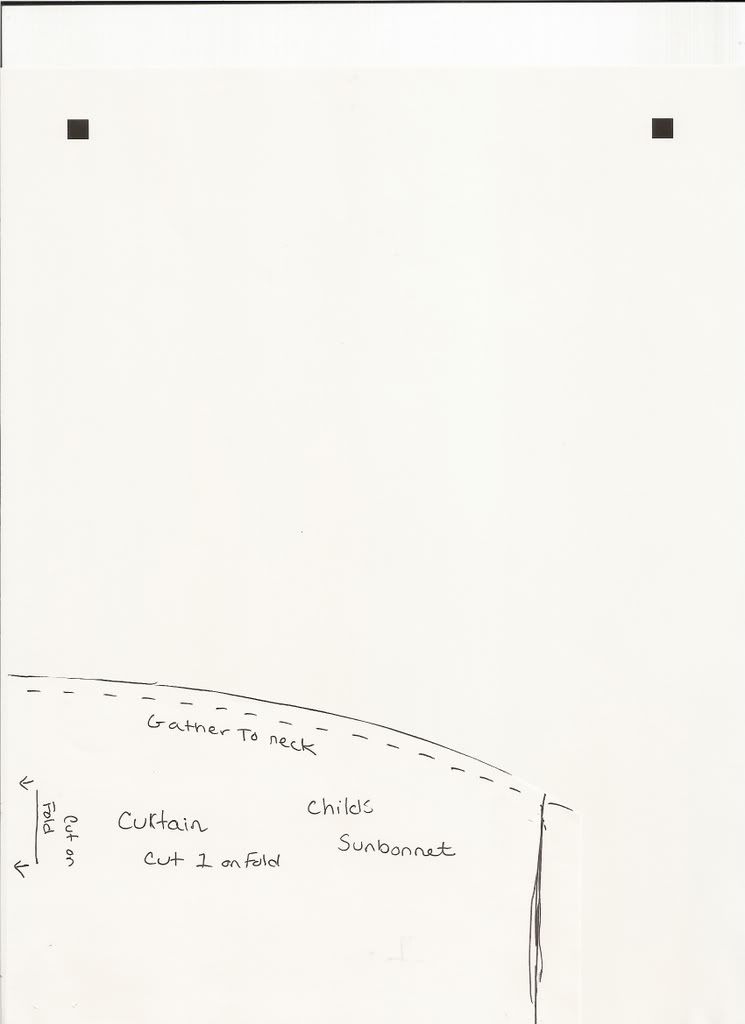
For the bavolet (curtain), cut a strip of fabric measuring 40" long x 12" wide.
Press the bavolet in half so the rectangle measures 20" long x 12" wide. Round off one corner of the rectangle so you have a very wide U shaped piece.

There should be enough scrap left over to cut and make ties once the bonnet is complete. So save those scraps!
To be continued.
Love,
Sarah


 Step 2: Part your hair down the middle. I always have trouble with this. My hair almost always parts slightly to the side instead of exactly in the middle. To make a straight part use a sharp pointy object and run it down your scalp. I used some old bandage scissors since they were in the drawer I opened but a knitting needle is ideal. Or just eyeball it and part. This is easier for some than for others.
  Step 3: Now part you hair again from ear to ear, across the top of your head. Make sure this part is pretty straight, too. I've done my hair at an event and due to seeing pictures after the event realized this part was NOT straight and it looked awful. So make it straight! :)
 Step 4: Grasp you back hair in a medium high ponytail and wind it into a bun. I usually just twist this length of hair and roll it up like a cinnamon bun. You could also braid this part and wind it into a bun but my hair isn't long enough for that yet. If your bun is really small you can do what I did when my hair was shorter. Get a fake shank of cheap hair at Sally's Beauty Supply in a color that matches your own. Braid a length of it and wind it around your small, real bun. It looks fantastic. Nothing makes you feel like a gorgeous, real 186o's lady than a beautiful hairstyle!
 Step 5: Return to your front hair. Grasp one section on one side of your head and twist it, starting at about ear level. Wind this twisted shank around your back bun and pin into place. Repeat for the other side. My twists are pretty pathetic looking because my hair is not very long or thick in the front (my bangs have never grown all the way out to meet the rest of my hair) but there are some period solutions for making this section appear thicker by utilizing fake hair. I just go with the pathetic looking twists. It's easier and more comfortable (fake hair is scratchy).
 There you go!
  Side View:
 If you have little wispies that fly away no matter how much you smooth and comb your hair then you can use pomade to keep your hair nicely in place. It also gives your hair a shiny look that you often see in period photographs. There are places online you can get pomade but for now I just use a jar I got at the empire of Wal Mart for a few dollars. It works really well. This is the kind I use:
 Now that your hair is nicely done up you can top it off with a lovely pleated ribbon hairnet or you can leave it perfectly plain. On to the underclothes in the next post!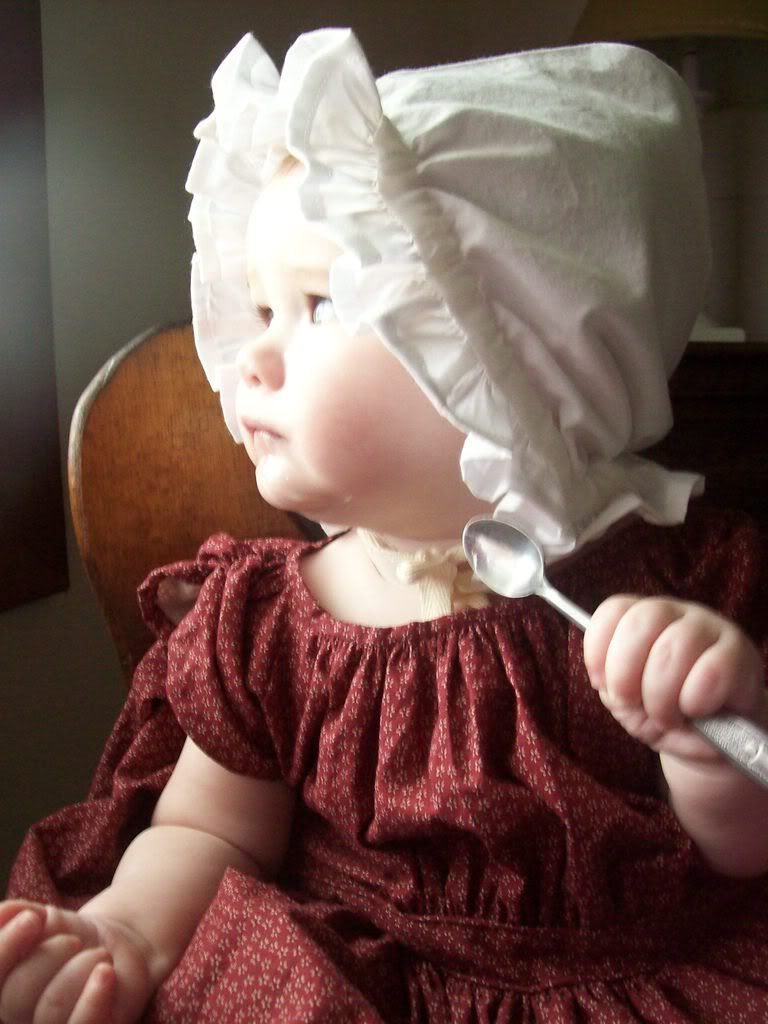


 I was originally going to make corded bonnets, but lack the time. After I found the bonnet I wanted to copy from, I measured the head of my oldest child. Based on his measurements, a quick drawing of what I thought the pattern pieces should look like and some trial and error I drew out a pattern. I usually just draft right onto the fabric but it is inevitable that later I wish I had saved the pattern because I want to use it again. Why has it taken me almost ten years to learn that? I can be so thick-headed sometimes!


 If any of you all are interested in making one like this, I scanned the pattern pieces. They are here: