What happens when passion, inspiration and practical application all meet - crash - head on?

A new dress, of course! :) (to the right: original gown from Vintage Textile that first inspired my gown)
I have been plotting an 1820's gown these past two weeks now. David bought some some cotton print a few months ago that he originally intended for a Civil War style gown and my original intention was to make a modified 1850's fan front dress with it to wear to pre-war events. (one gets tired of making regular gathered bodices, you know?) However, now that I have two very servicable and fairly new cotton gowns and a silk and a wool gown I really don't *need* another reenacting gown and so David consented to my making an 1820's gown out of said fabric. He is becoming very interested in developing his pre-war impression and is even enthusiastic about this new dress-in-the-works.

My love affair with the 1820's springs from my deep love for New Salem, IL. I recently reread my dear book, Lincoln's New Salem, and the more I read the more I realized how much more opportunity American's had for making something for themselves while they sojourned on this earth. Back then, it was possible for almost anyone to do anything. I think of Lincoln, who learned the practice of surveying over the period of a few months, and was so good at what he did that he was often requested to resolve disputes about boundaries between neighbors!

I have such a huge amount to say about this dress - all the reasonings and speculations and decisions on styles. I want this dress to be accurate to the mid-late 1820's period and something a pioneer lady might have worn when she first came to the very unsettled and wild country of what is now the Sangamon and Menard counties.

One initial problem was the fabric I am using. Although the print seems pretty passable I wondered about the use of a printed cotton that early in the pioneer period. I honestly think wool or linsey-woolsey would be a better, more practical choice but the only linsey-woolsey fabric I could find was $28/yard.

I told David. At first he asked me what linsey-woolsey was. He then looked at me queerly. "You'd rather spend $28 a yard on linsey-woolsey than get some really nice silk for a dress?"
Oh dear. Yes.
Maybe someday. Of course it is foolish to spend so much on fabric for a dress that doesn't even really have a purpose beyond clothing my body for normal, every-day wear. We don't do 1820's events and sadly we don't live close enough to New Salem to even volunteer there regularly. We really, really want to - but so far that is still in our future. And New Salem is mainly 1830's, anyway.
.jpg)
Anyway, to cut short what could be a very long post, I am using my cotton fabric for the gown and used the lining pieces from the pelisse-robe in Janet Arnolds Patterns of Fashion 1 for my bodice. I have the muslin fitted and the material is ready to be cut out. (I have planned on cutting it out every day the past three days but have been busy with other things! Alas!) The pictures in this post are random photos of extant dresses I found while browsing the internet that inspire, one way or another, my finished dress design.
Goal: To have this dress done before Nov. 2nd, when I hope to wear it to a potluck supper we are going to for our Civil War reenacting group.
I think the next few posts will be very 1820's indeed. Besides making the gown, I also need to make a bodiced petticoat to go over my short stays and shift. I want to sew it all by hand but think in order to meet my deadline I will have to machine sew the inner seams and just use hand finishing on the exposed seams. It is a painful decision but a practical one.
And for the guess-which-one-is-false post I posted a few posts below, I have updated that with what is really true and which one isn't.
Glorious autumn day to all! We are supposed to get snow today!
Love,
Sarah


 I originally wanted to make this dress with a small jacket over top of it but after looking into this style more, I found that most often a dress was trimmed to look like there was a jacket being worn. Well, that made things a lot easier! I used my basic fitted bodice pattern and lengthened the front a bit to make a shallow point and I added a peplum/postillion to the back. This was a lot of fun since I have never made this style before. I spent a while trying to decide on an appropriate sleeve but at last went with a two-piece coat sleeve and trimmed it with green/blue silk. I used the same silk to trim the bodice, and plain blue for the bow at the neck. I really want a nice brooch so that is on my Christmas wish-list. :)
 I have also been working on a little girls dress for a young lady in our reenacting group. I was quite stuck on what size to make so at last sized up the pattern I used for the boys and I am anxious for tomorrow as the moment of revelation. Will the dress fit?
 I used a heavy pink striped seersucker for the dress. It is not the best choice since although seersucker was used for clothing during the 1860's, it is not documented to have been used for dresses. It is, however, a fabric I had plenty of and since I do not know if this dress will fit yet or not I thought it would be all right to go ahead and use it. If it does fit, I can make another dress from a more appropriate fabric. It is a very thick fabric and has very nice body to it. And a big thank-you to
  I actually broke down and did buttonholes on this dress, instead of taking the easy way out and using hook and eyes. I hate making buttonholes. And now I am refreshed as to my reasons why! :)
 It is COLD. Hope you all are keeping nice and warm!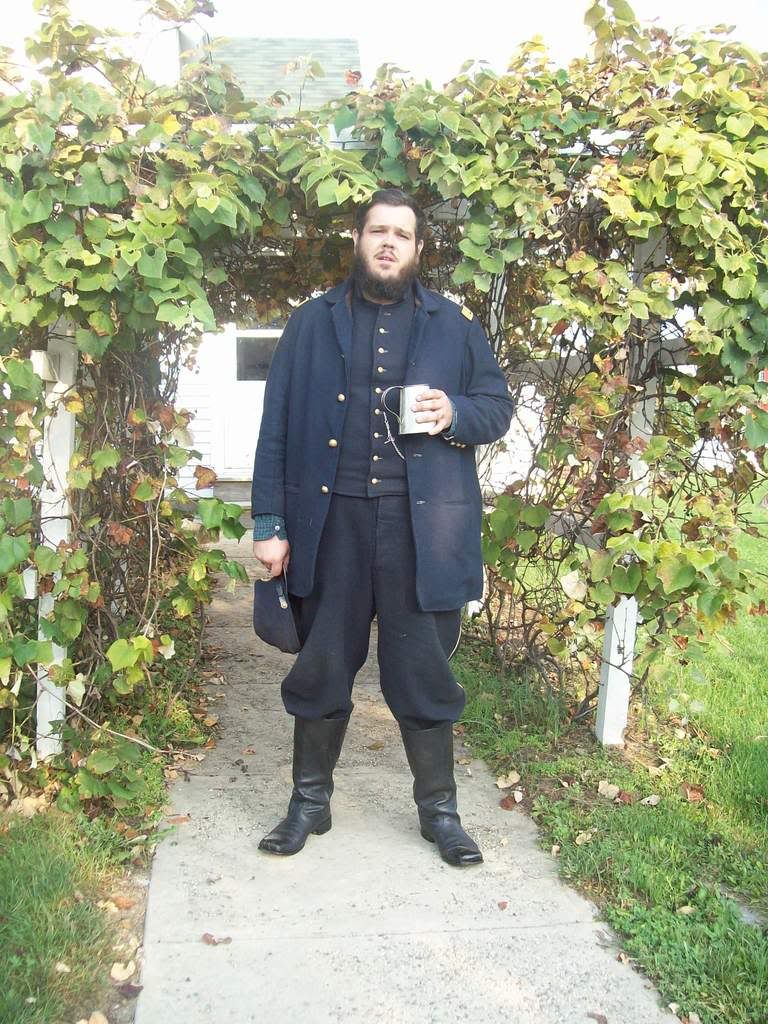
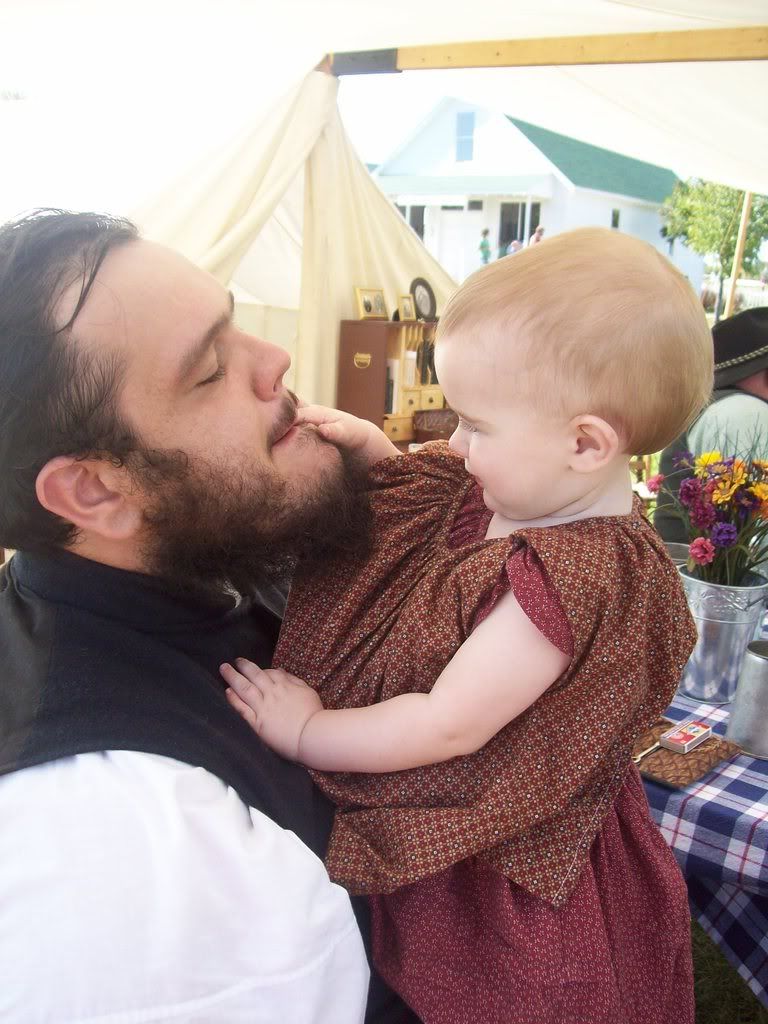 Saturday greeted us with awakening very early to head over to the event, since David was forced to remake our new rope bed Friday afternoon/evening due to some warping issues with the lumber we intially used. Rather than set up very late at night we decided to go to the event Saturday morning. It was a compromise; we didn't want to miss the first evening there but by staying home we were able to relax a little and watch the debate between Sen. McCain/That Rat Obama and awoke refreshed for the weekend.
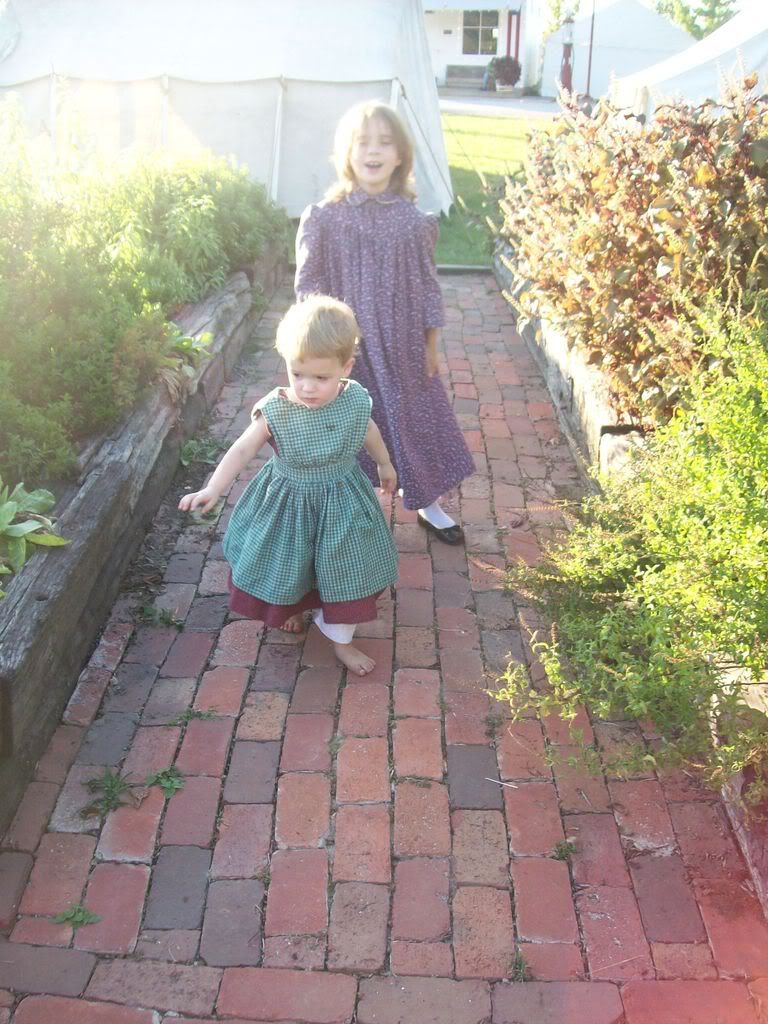
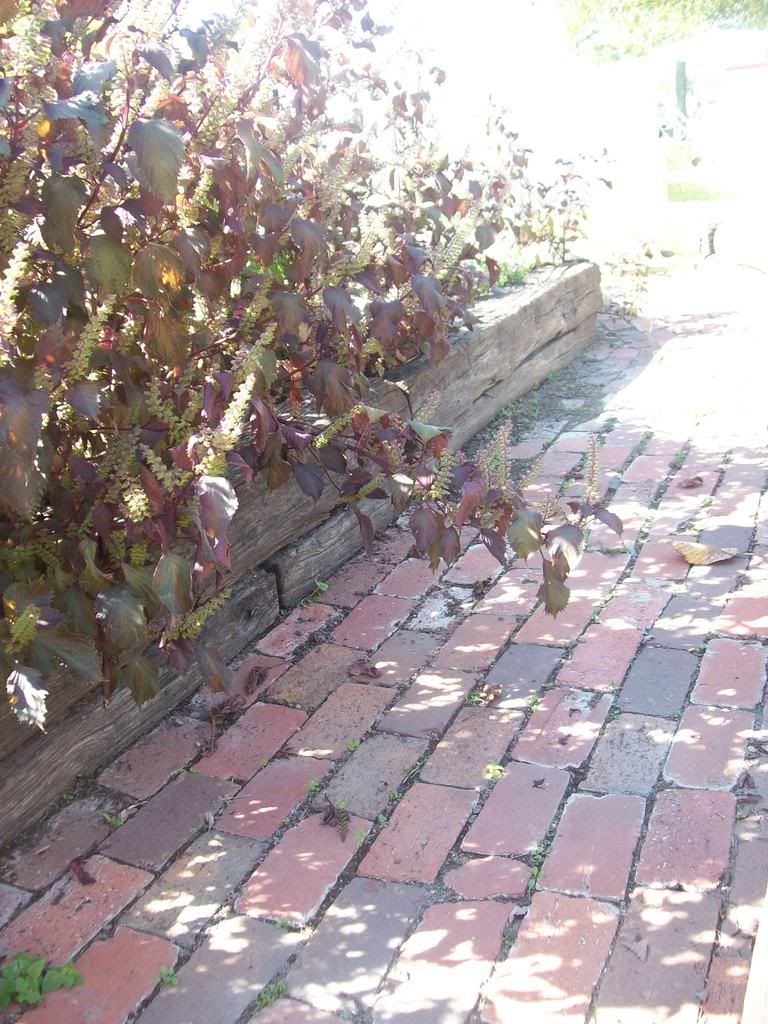 Little David enjoyed walking the intersecting pathways and it was pleasant to have him so interested in an area so close to our camp. Katie, the little granddaughter of our hospital steward, played with the babies and followed little David where'ere he went.
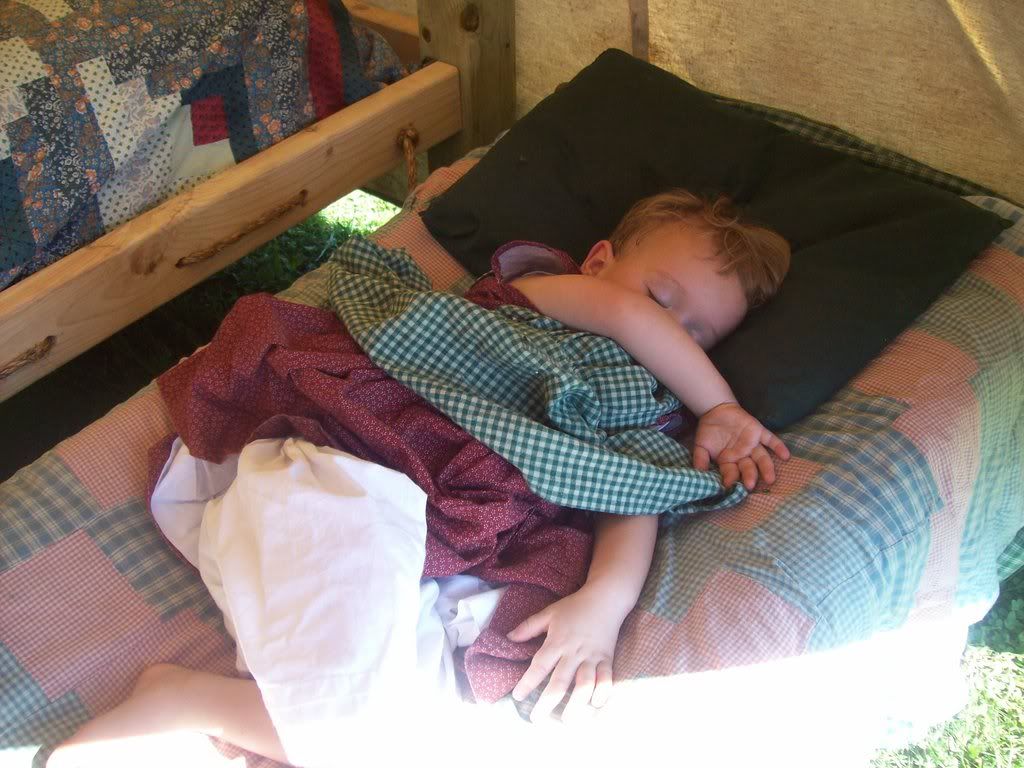
 We brought a wood and canvas frame cot for the babies to sleep on this weekend. It was an experiment for us. I was not sure if they would do well with an open bed since they are accustomed to sleeping in their cribs, or on the ground in a puppy pile at events but they did very well with the cot and I was glad to have them up off of the ground. Judah slept at one end and David at the other, with their feet in the middle. David enjoyed the cot since it was so narrow and snug and took advantage of that for a nap Saturday afternoon.
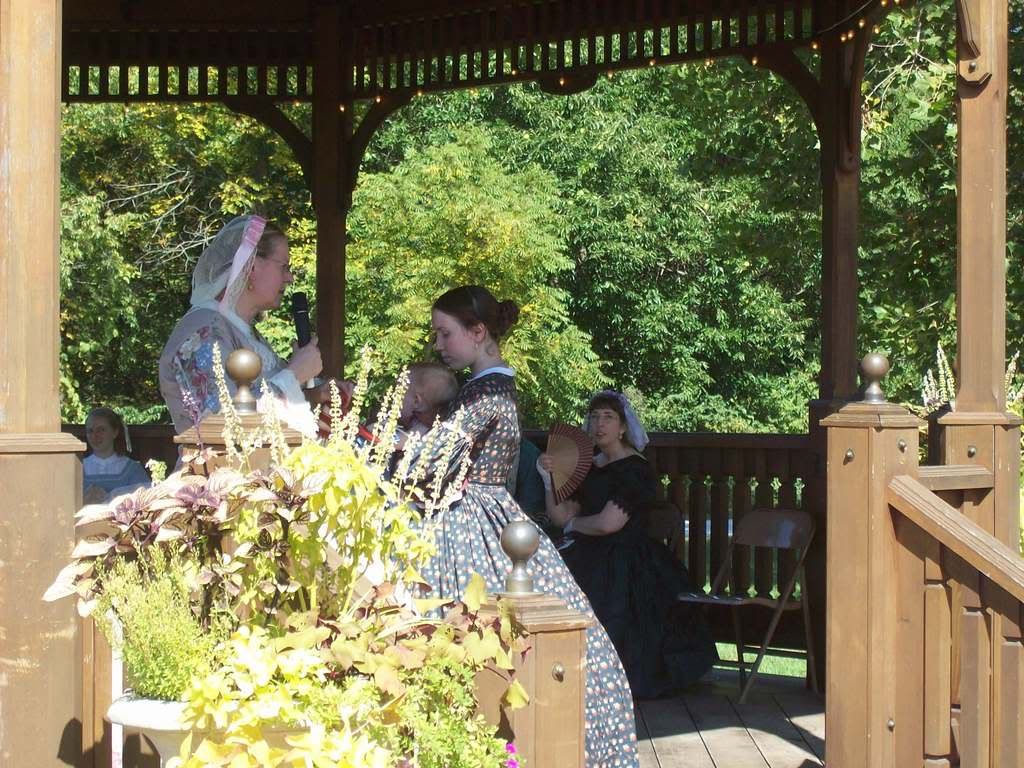
 Judah and I, while David napped, were invited to participate in the fashion show, held in a gorgeous wood gazebo. We had lemonade and cookies and waited in the cool shade with the other ladies until we were called up. Juhah flirted shamelessly with all the ladies and had his picture taken for the local newspaper. The next day we got a copy and his picture was on the front page, along with the inner location of the article! His picture was also the largest photo in the article. :) This time, the news reporter did NOT botch up what I told her and I was altogether very satisfied with how the article was written. Much better than last year at Princeton.
  In the afternoon I spent a great deal of time at the farmhouse that was a street over from our medical camp. There was a pretty arbor covered in shady vines that the boys played beneath and a large yard fenced in where they could run and play without me having to worry about them running off. It was nice to sit on the porch and talk to the passer-bys as I felt it was a more fitting location for me than the medical encampment. I was able to pretend I was the mistress of the home with my children and the army was moving through my town, the battle taking place a few fields away. It is nice when events have atual historical buildings so such a thing is an option to portray.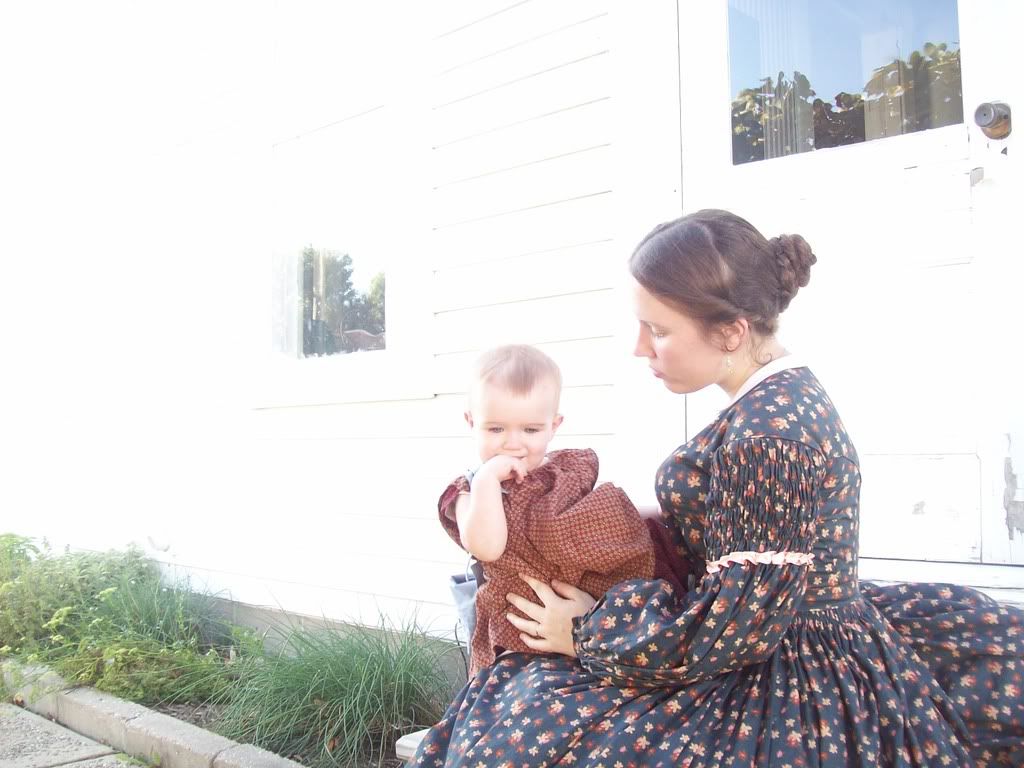
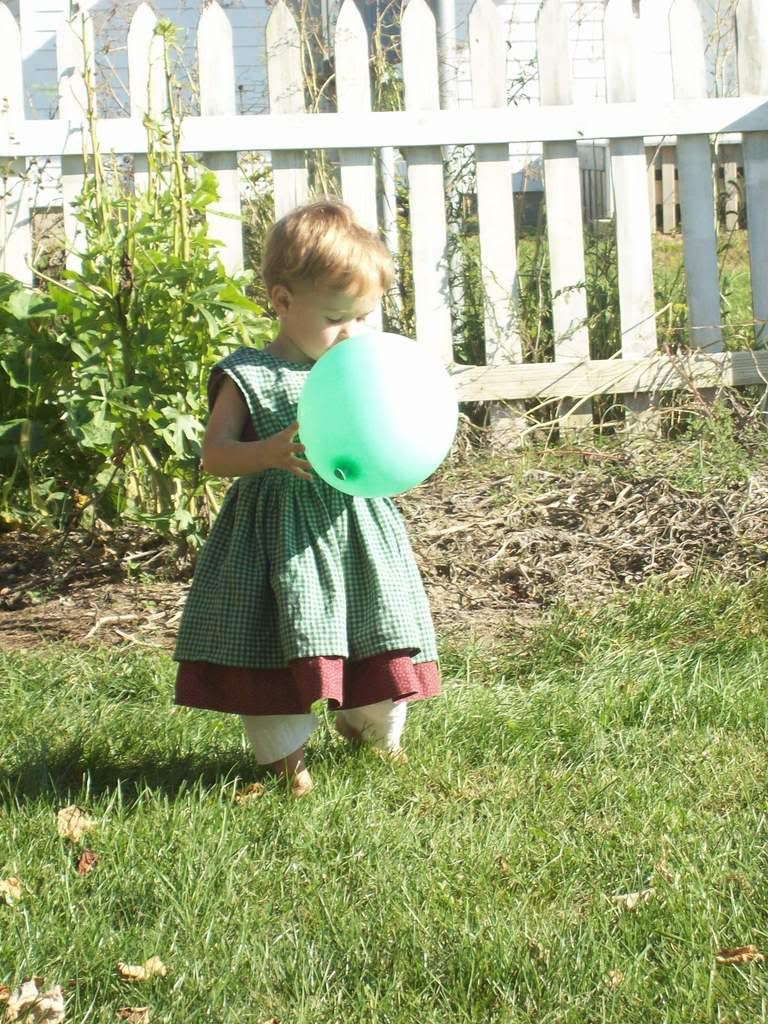
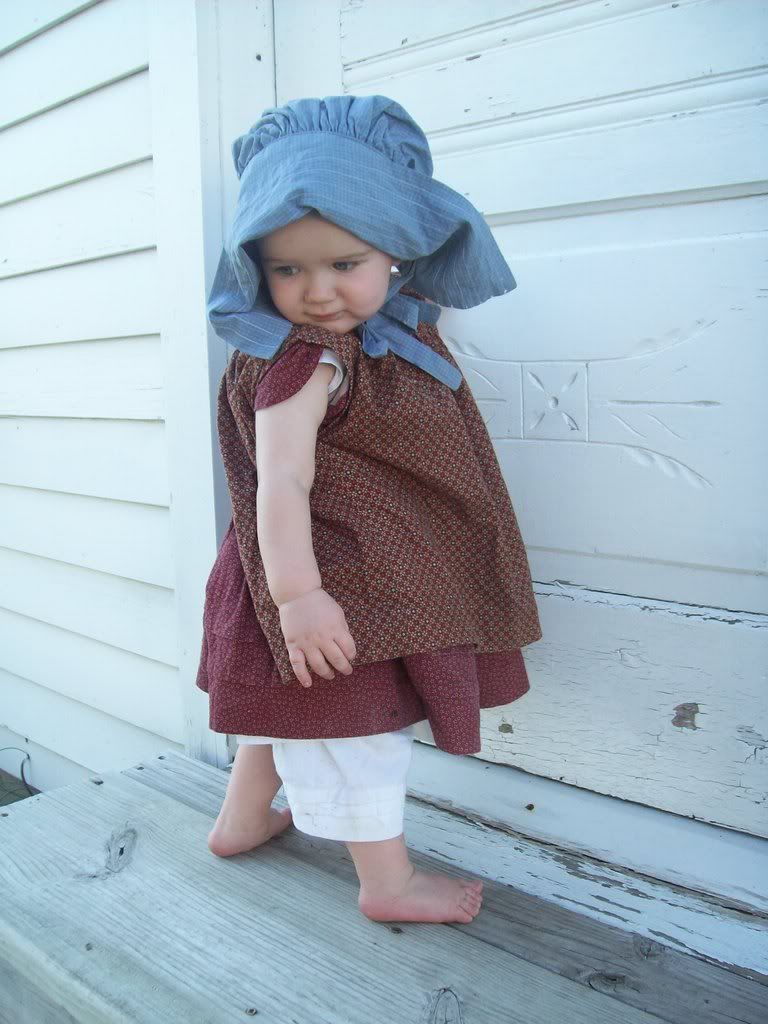 Katie gave little David a green balloon, which he Dearly Loved.
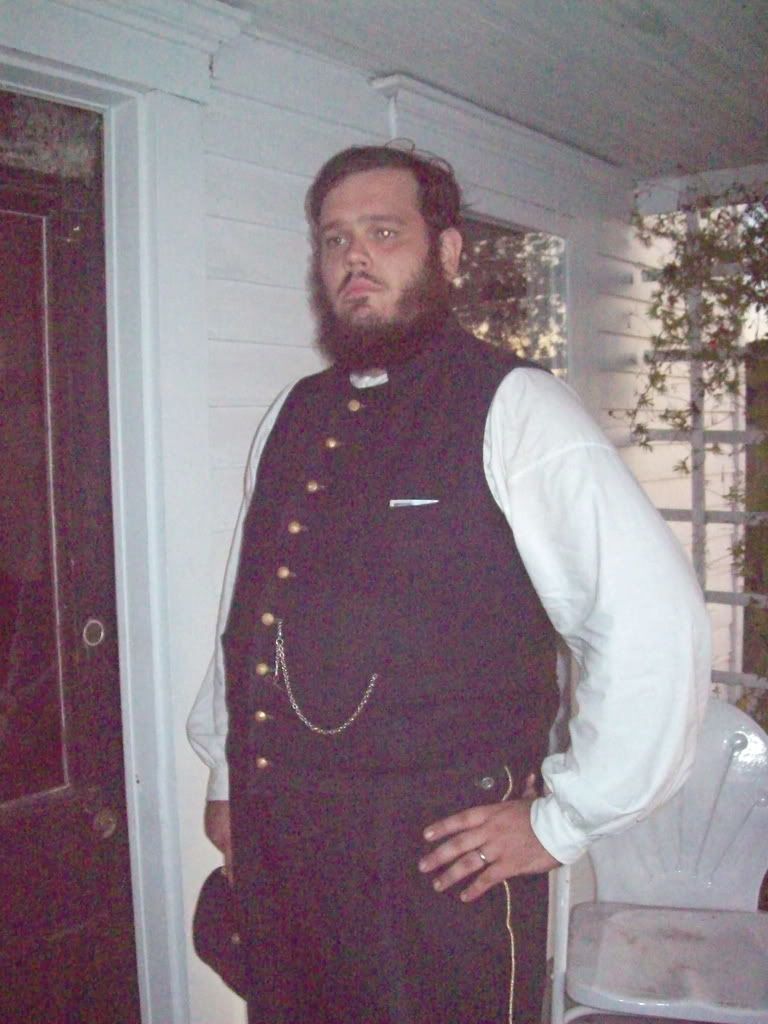
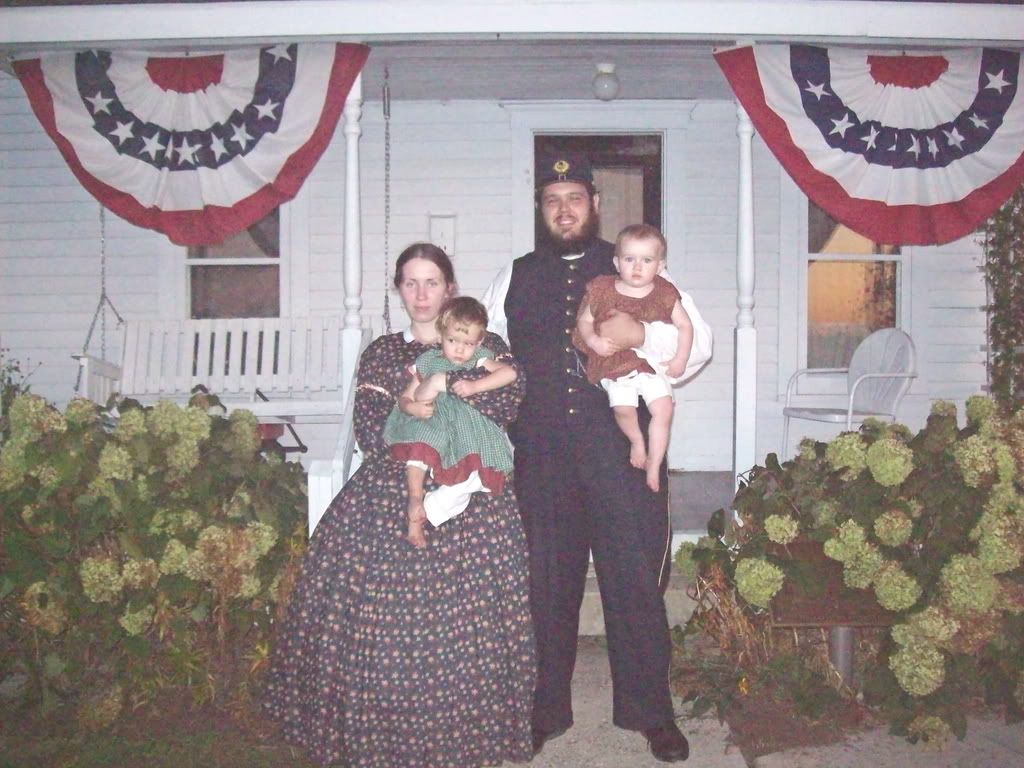
 The photographer was not at the event so we asked a reenacting gentleman to take a picture of us as a family. It is not nearly what we wanted or had in mind but at least it is all of us together! :) We think the photographer will be at our final event in three more weeks since it is close to his actual location and we plan on getting our photo done there. (and yes, I do need to make a longer collar for my blue dress, and no, I don't plan on wearing this one for the pic! Yikes!) :) It does work VERY well though for keeping signs of Baby Smudge from disfiguring my gown since the dark colors are so very practical.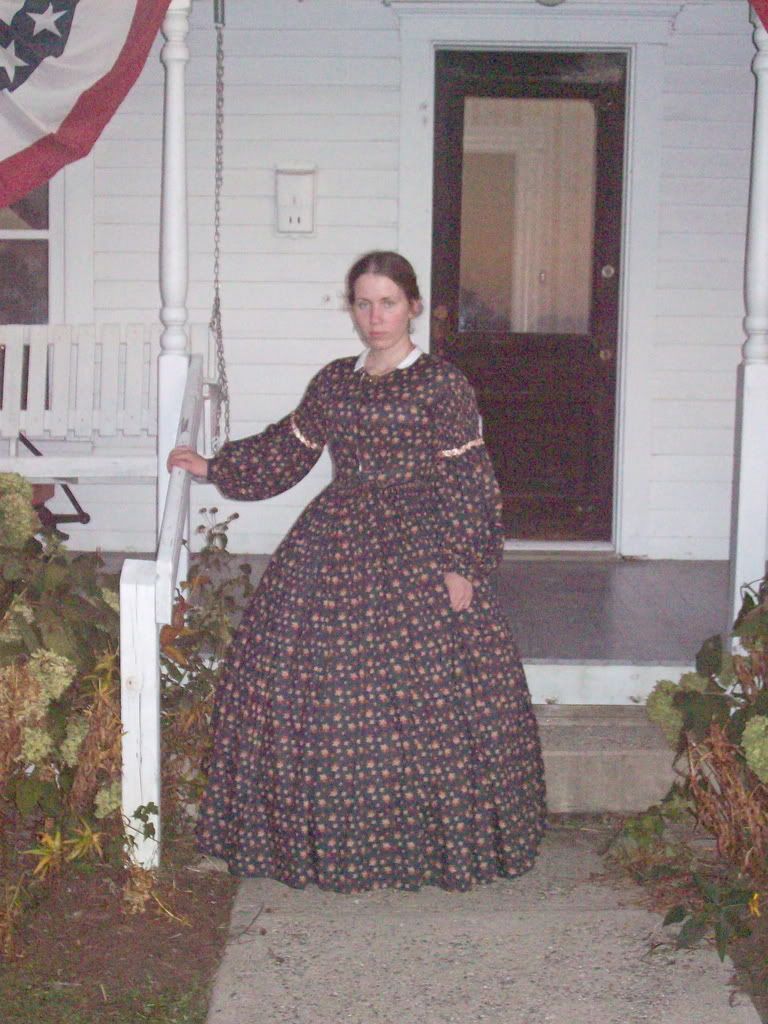
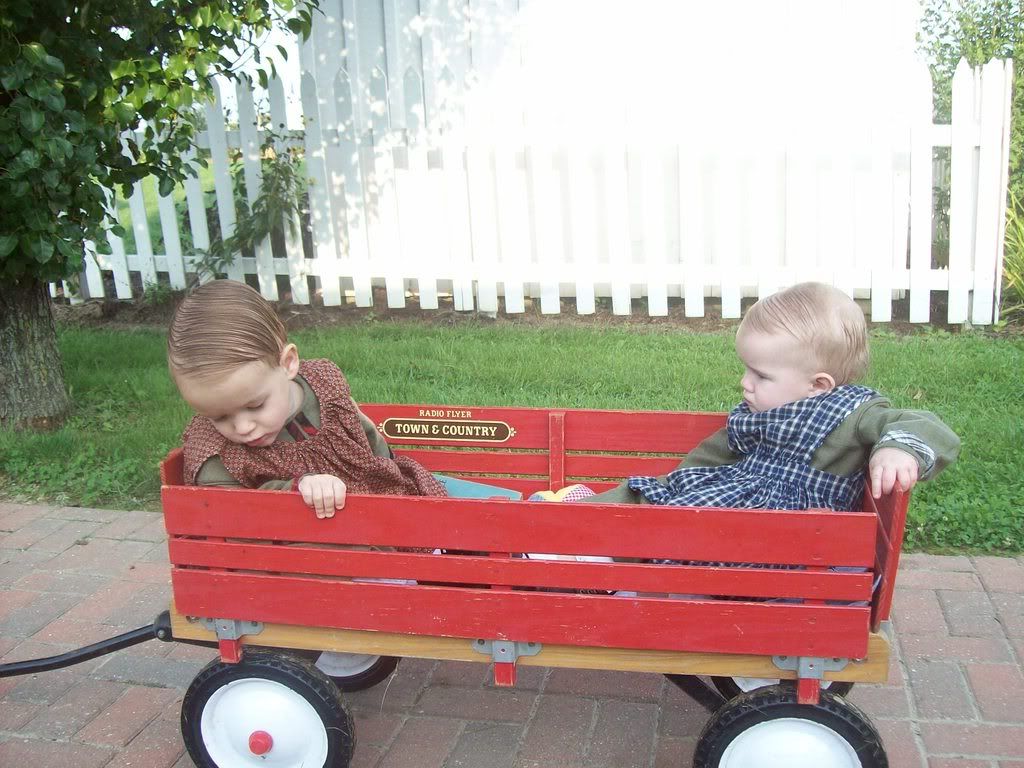
 On Sunday morning we awoke early. While David helped open the church building I took the boys for a walk before services started. My dad let me use this little wagon to pull the boys in. It is not period correct and we have to paint over the "radio flyer" words but it was hugely helpful to me and a better option than our double stroller. The boys enjoyed riding in it as well! Hopefully over the winter we can get a period correct wagon made for the boys. It is almost necessary to have, especially since I will have the new baby next season.
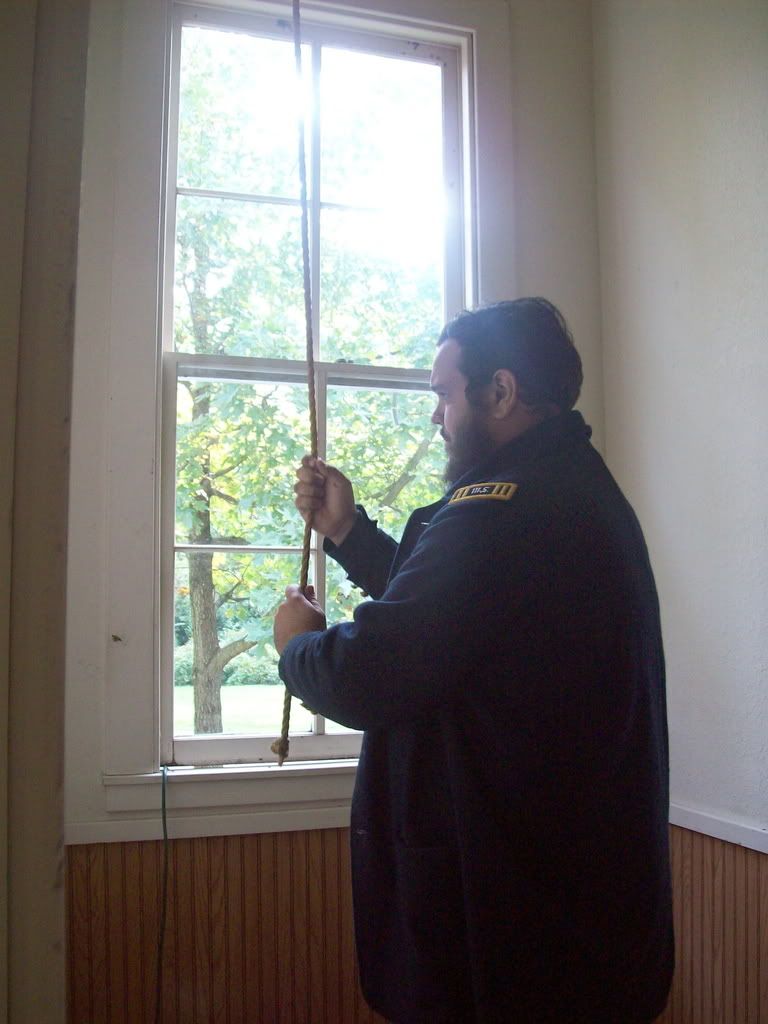
  Just prior to services, David had the privilege of ringing the bell to call the worshipers together. He rang it twelve times, once for each disciple. (although on reflection it could also have been once for each tribe of Israel?)
  The service was quiet, sober, yet full of joy and gladness. David and I both felt that this was the first time in a very long while that we have actually worshipped, as a body with other believers, in a church setting. Since leaving our old church (for many different reasons) earlier this year and off-and-on atttending a different nearby church we have not felt so settled nor so happy to be in a place. The preacher gave out the gospel fully and with no restraint. To hear again of the love our Lord has for us was humbling and convicting.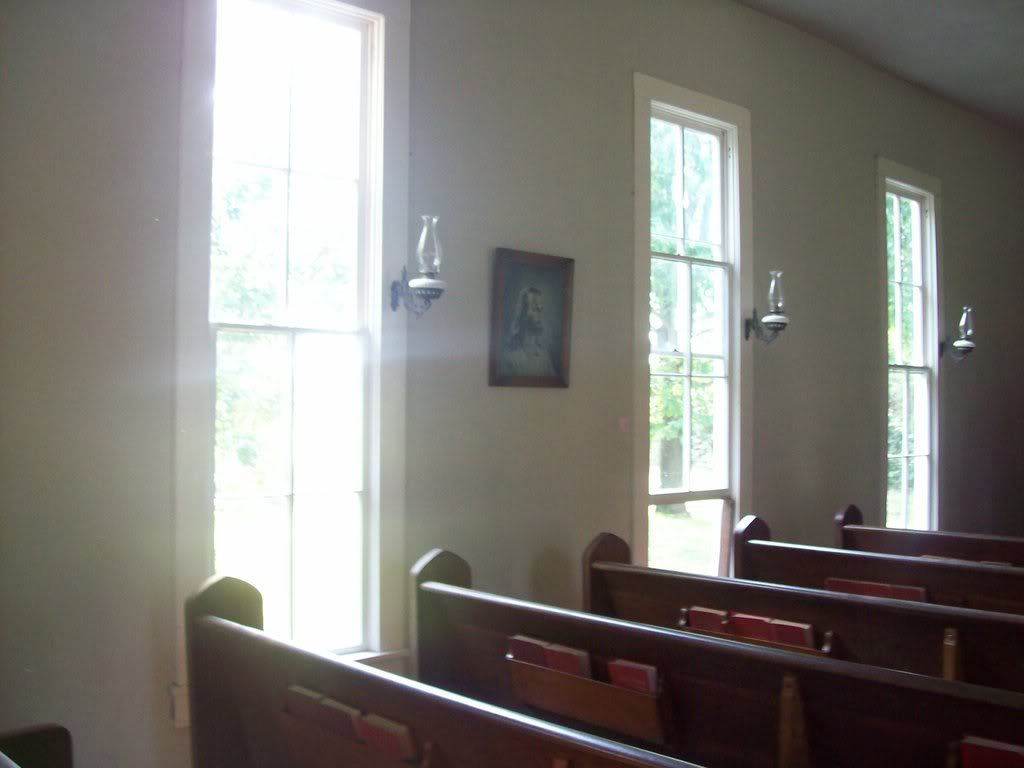
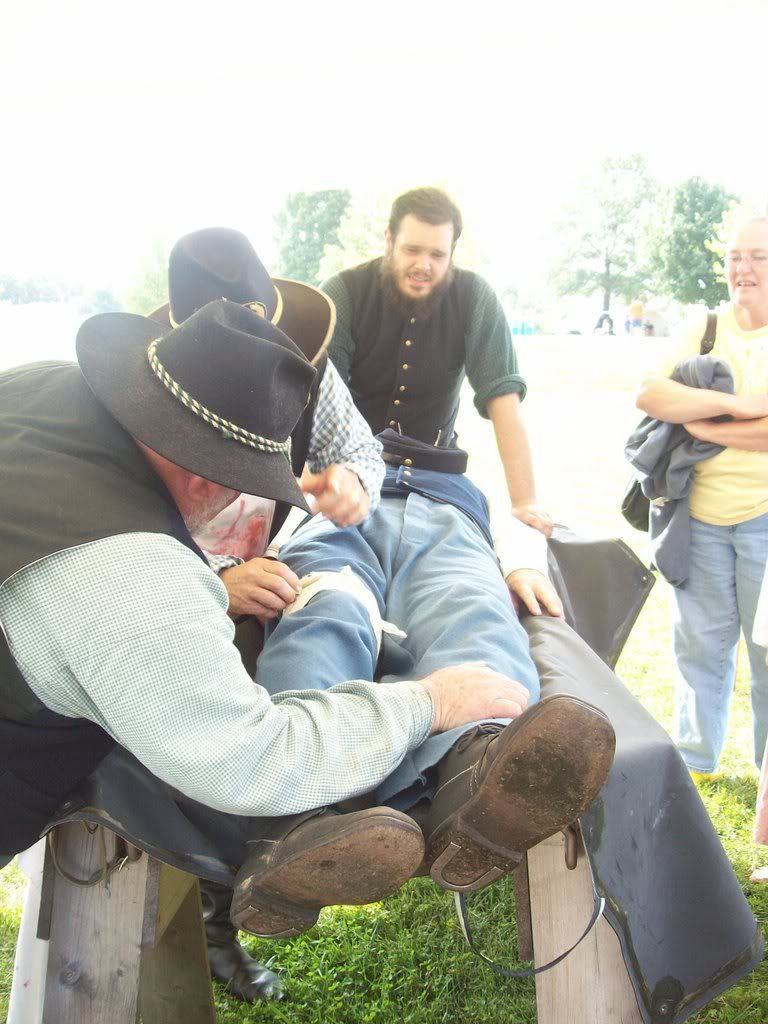
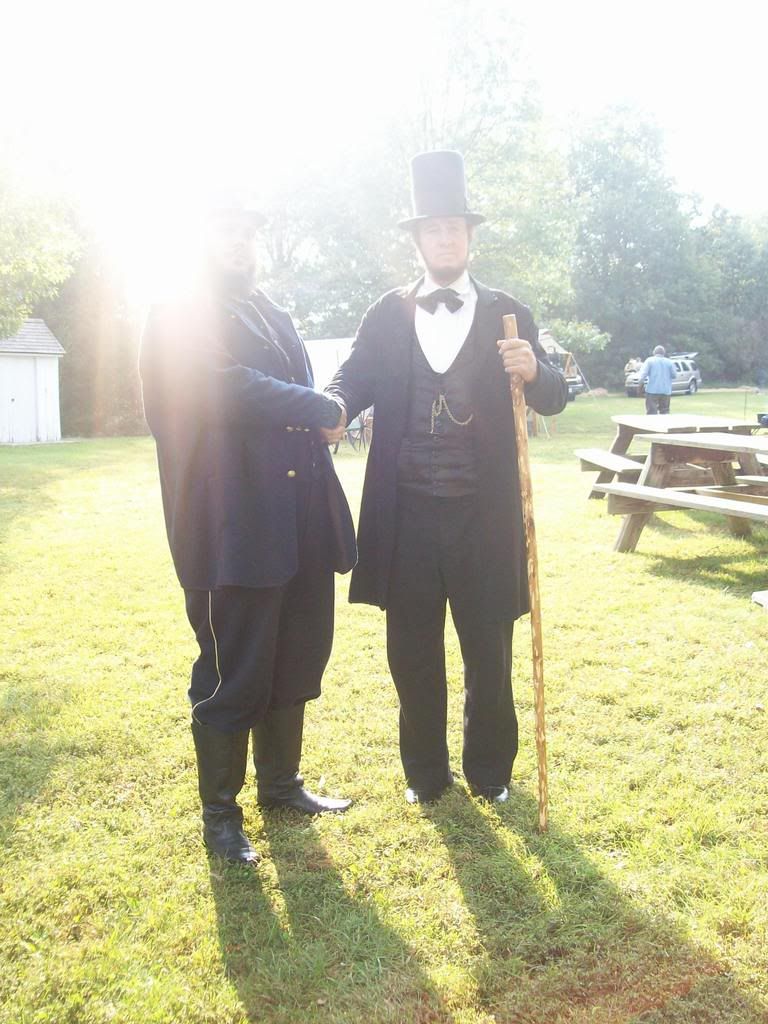 There was not much on the schedule for the afternoon but David and Maj. Ron, the surgeon, planned a small scenario for a pre-battle demonstration. David gathered up a few willing victims and worked on his wounds.
 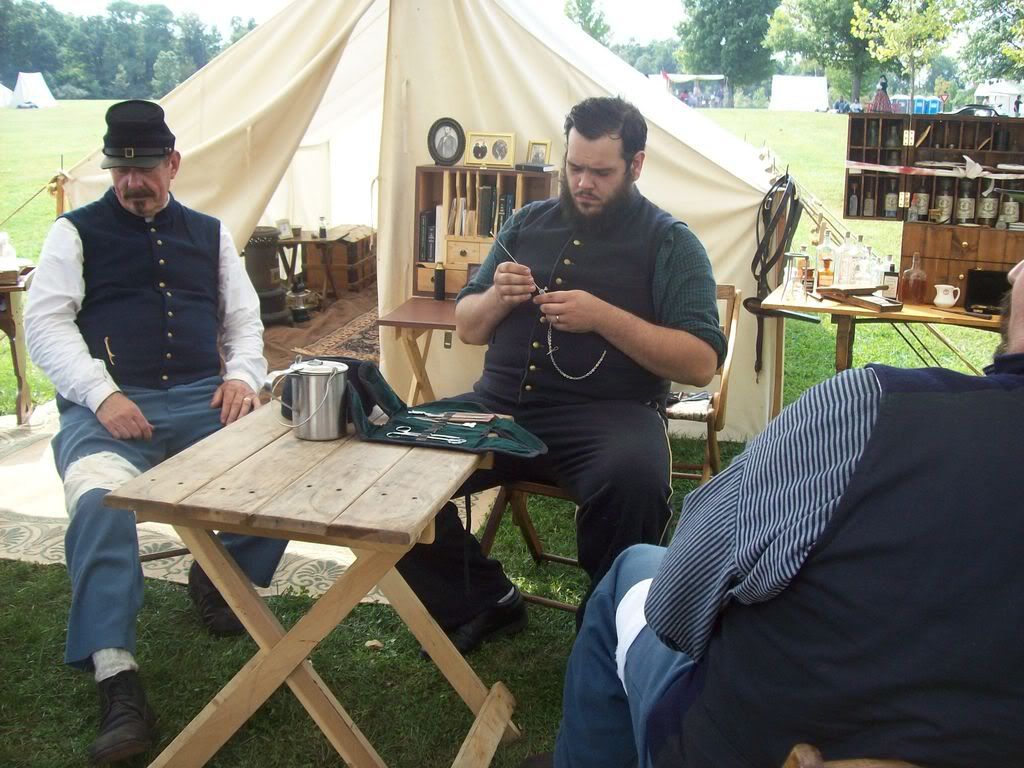 Meanwhile, I examined the medical instruments, papers and medicines laid out.
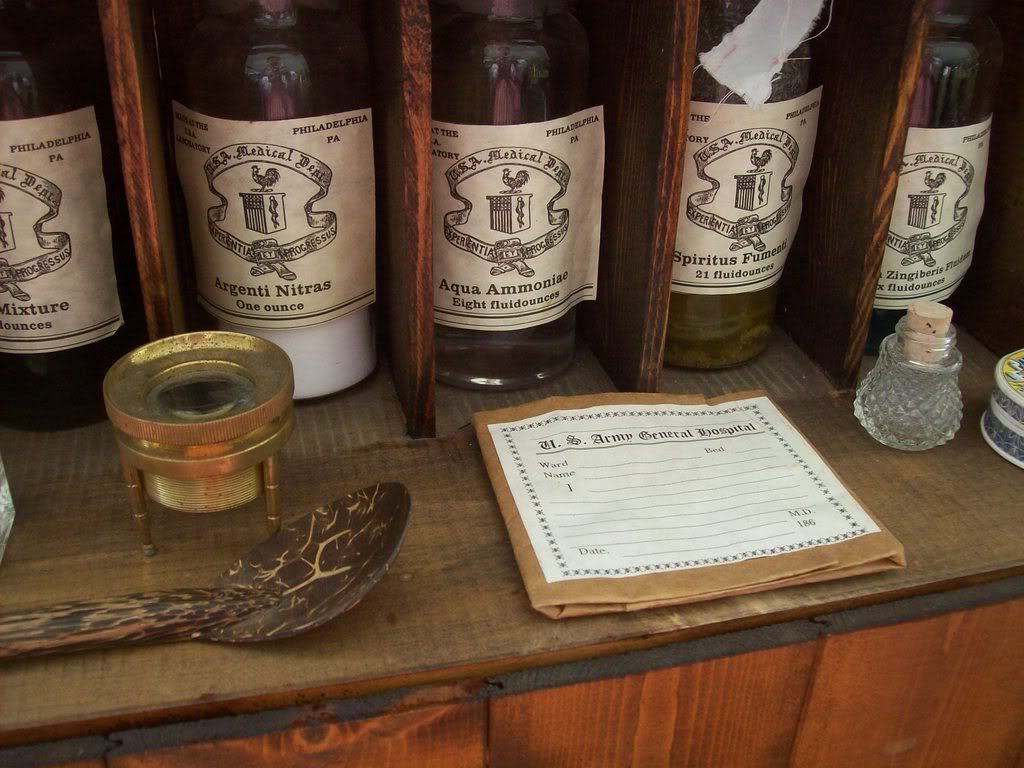 At last the crowd had gathered and before them three men had puss cleaned from their wounds. (speaking of which, the "puss" used is really tapioca pudding. Judah saw his daddy using the puddy to make a wound and was unhappy because he could not eat it!)
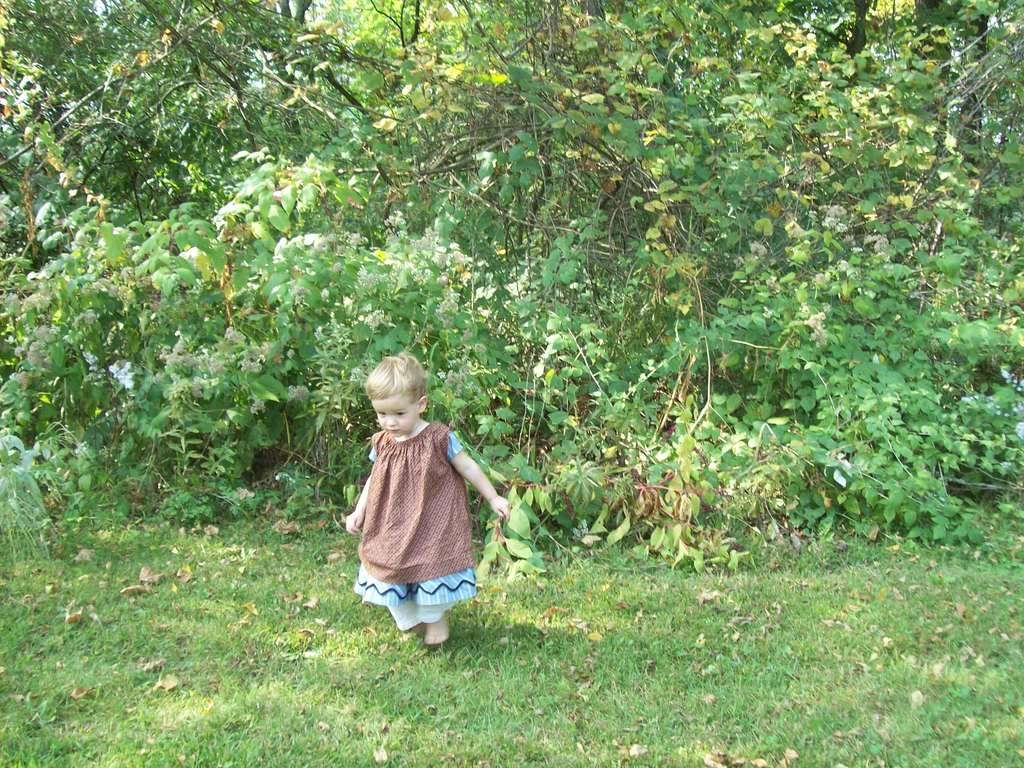
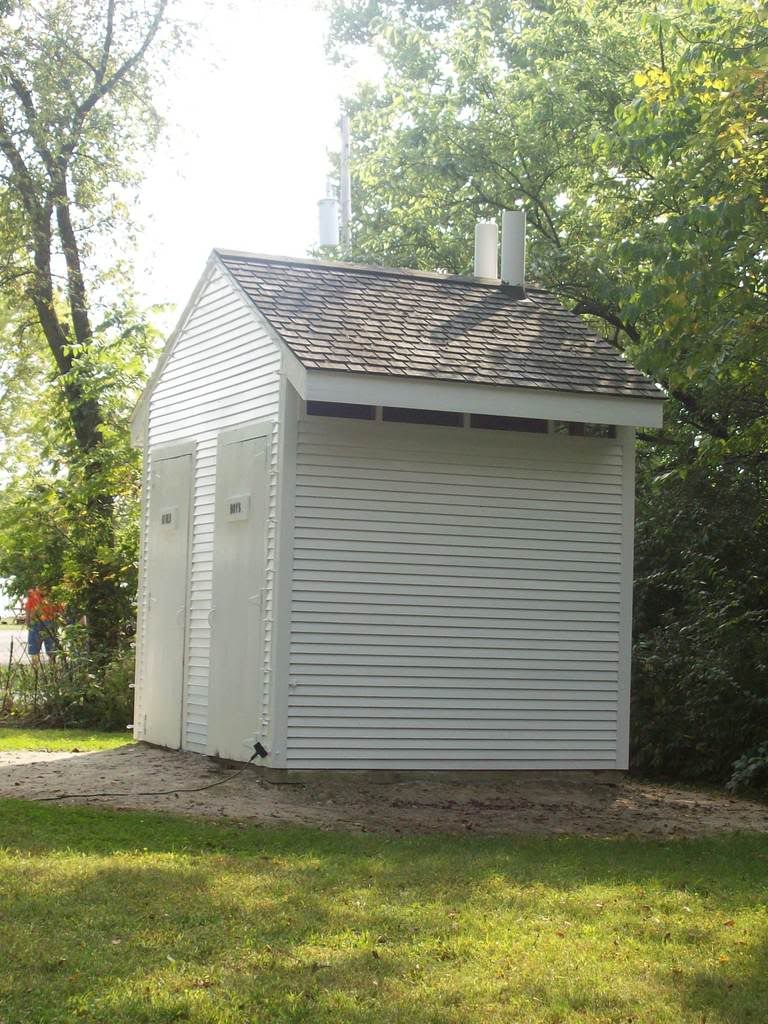
  We headed up to the battle after that but I soon had to take the boys to a more shady location. We spent a while in the pleasant tranquility of the school yard and David explored the edge of the woods while Judah amused himself with the crunchy leaves that had fallen. A functional outhouse was in the schoolyard and was much preferable to the porta-potties since not many people thought to use them.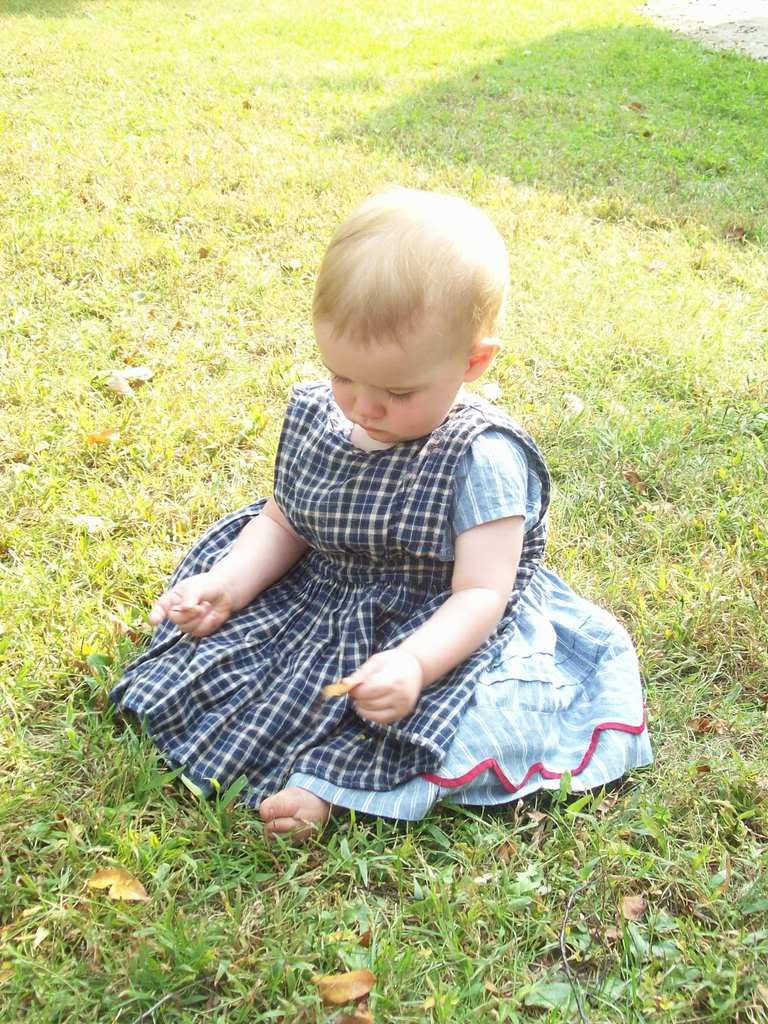
 And thus - we packed up in the afternoon and in the glory of the setting sun came home again.
 To use up leftover bits of yarn I decided to knit up a sortie cap and see what I could see with that pattern. I found a link to the pattern from The Sewing Academy. The original calls for much lighter weight yarn and smaller needles than I used (I just used the size 7 needles I used for the sontag and sport weight yarn) but it came out exactly the right size for me. I can't imagine going any smaller with the yarn/needles without having to increase the stitch number. . .maybe I have a larger head than most women did 140 years ago? I originally did the bows and ties in green but after David mentioning that I looked patriotic to either Mexico or Italy I changed them out for blue ribbons. Now it looks patriotic to the United States, and I can wear it as a symbol of patriotism to either the Southern or Northern flag, depending on what "side" David is on. :)
 I got Judah's coat finished from the Godey's diagram I drew up for a "boys cloak". It has only three pieces and since I left off the collar and used only the back and front piece I thought it would be easy to put together. However, I found the batwing type sleeve very awkward to sew into the front and even harder to hem. I at last gave up trying and just bound the raw edge with strips of brown velveteen, which I also put around the front and bottom of the coat. I trimmed it similarly to Judah's wool dress with the same wool I used for his hood. I still have little David's to make before Friday and I am NOT looking foward to it. I keep putting it off! I'll be glad when I'm done!
 I also finally put the skirt back on my blue print dress. I really wanted to make up my new cotton print that David got me for Danville but didn't want to be rushed with it since I want to try a new style for the bodice (with tucks at the shoulder) so I took his suggestion and just redid my blue dress. I cut a new shape for the neck (shallow v, instead of jewel) for a more flattering line. The new neckline thus necessitated a new collar and this time I tried a bit of embroidery at the corners. I used a tiny chain stitch and satin stitch for a flower-like thing with two leaves. Okay, so they didn't come out the greatest, and they are not the same size! But the only one close enough to me to notice that will be my husband and he doesn't notice little things like that, thank God! :) (don't worry, the fabric beneath the collar is not one of my civil war gowns! It's just the skirt of the dress I happen to be wearing today).
  I gauged on the skirt instead of setting it in pleats. I put on a new hem facing. I also had to fix the gathers on the sleeves (they were copied from an 1840's dress) and trimmed the last row of gathering with some double face satin ribbon. The dress looks much better now and I am looking forward to finally being able to wear it again - this time with the skirt on properly and not backwards! It is just a cheapy cotton print I picked up at a discount store last spring for .88 a yard but I do like it because it doesn't show dirt very much and so far has held up really well to wearing.
 I also made myself a hood, but I'm not sure if I like it very well. I lined it in white silk and quilted it in red, so every little mistake shows up very clearly! And the silk wanted to stretch out and I sewed a few puckers into the quilting which bothers me greatly. Sigh. That is another reason why I made the sortie cap!

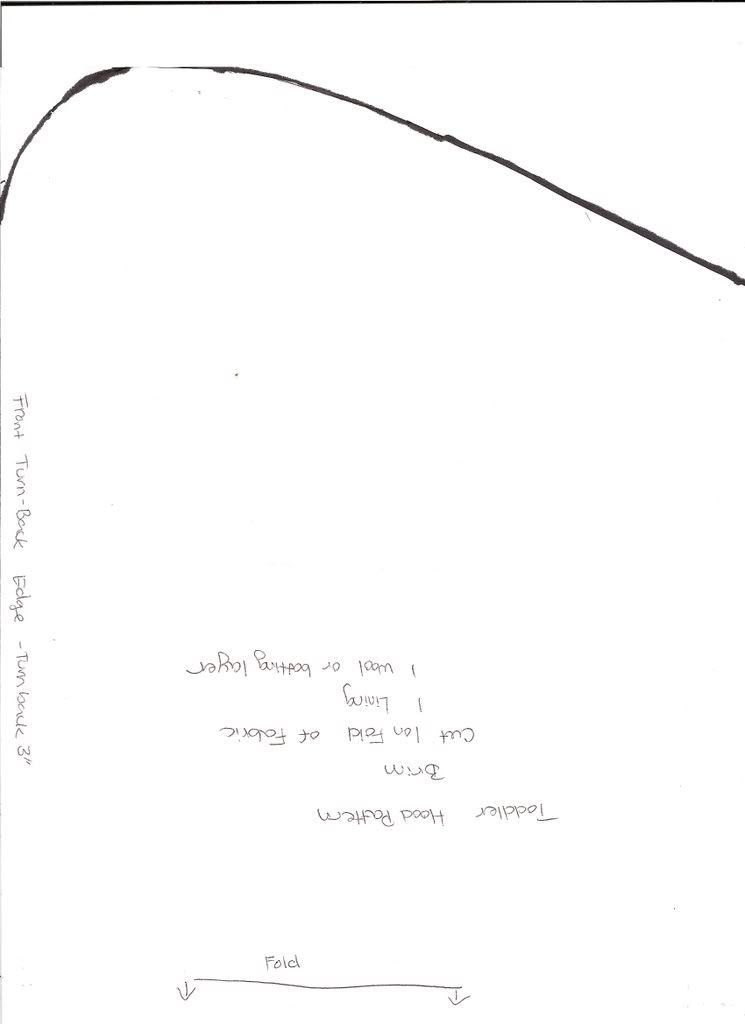
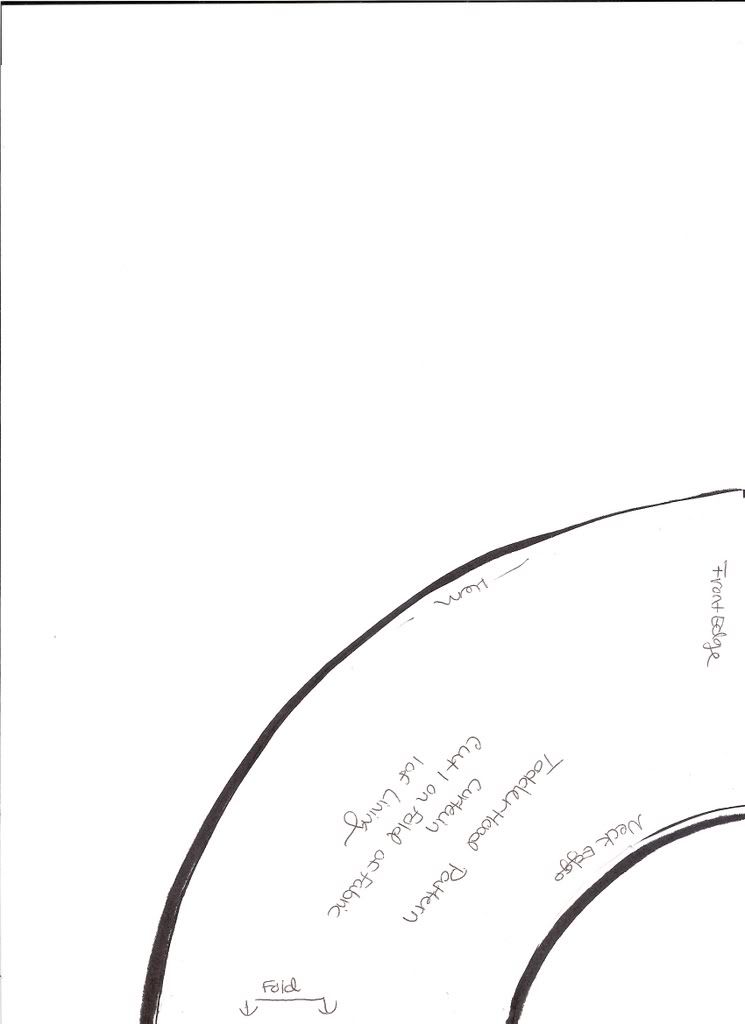
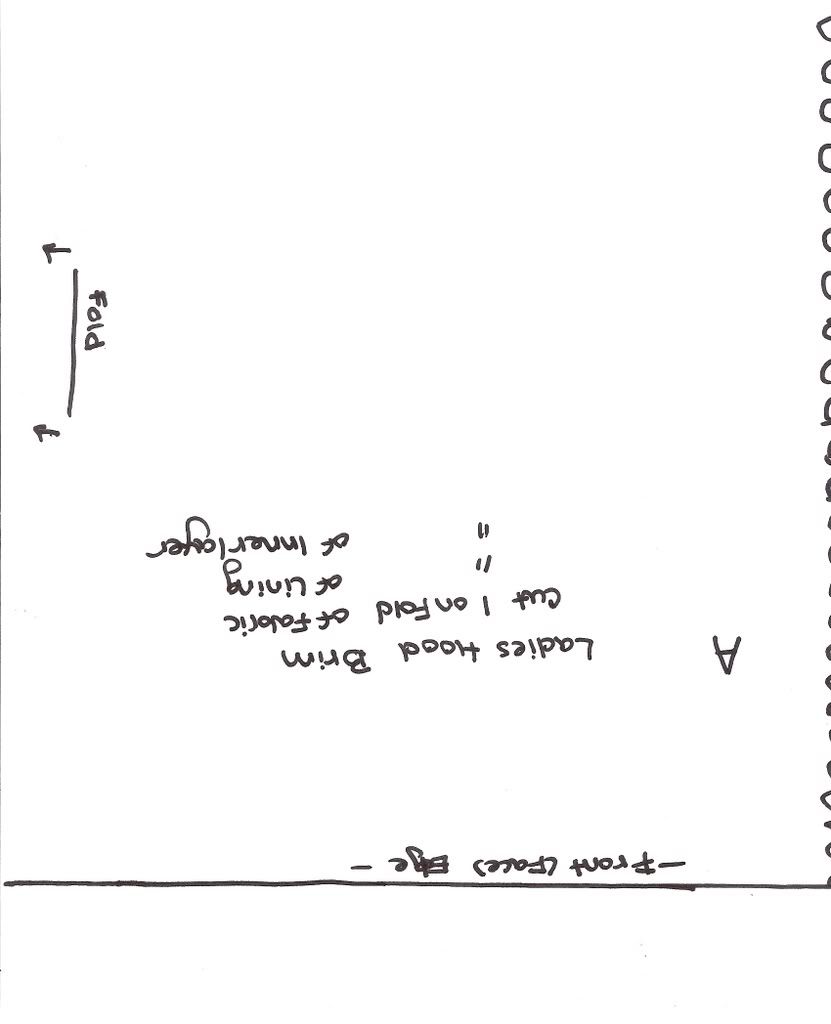
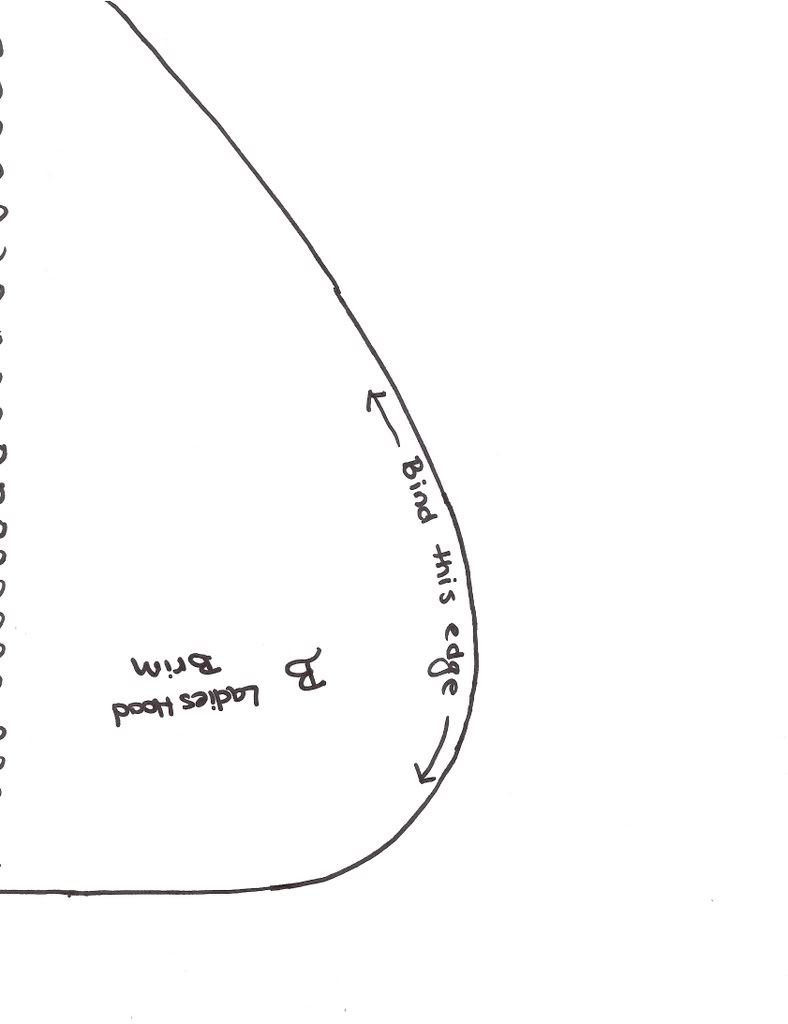
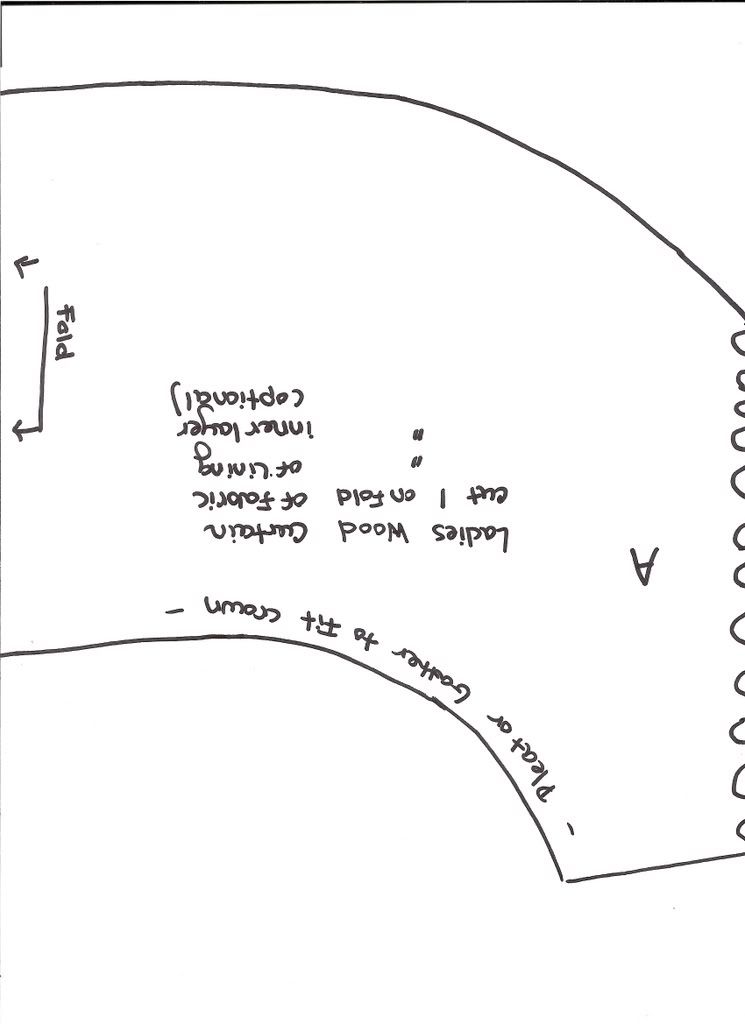
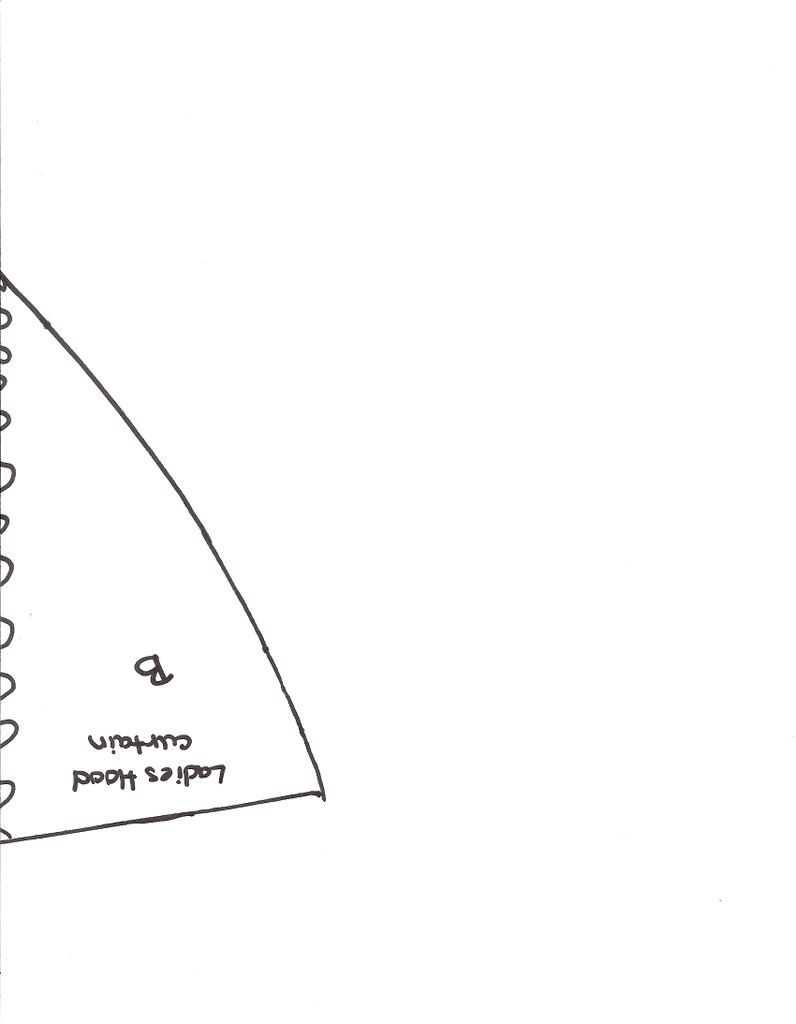
 So - a few scraps of material, a few hours, and there ya go. A practical, useful accessory for chilly autumnal temperatures for the little ones! For anyone who wants to make their own, I scanned the pattern I drew out. These pattern pieces fit on a sheet of computer paper, so just print full size.