
I left most of my research until the last minute. I was extremely lucky to find some nice images of little boys wearing long trousers and button on blouses so I had something to go from when making little David's. Ebay yielded some nice results and a few other websites and blogs had some lovely images as well. For this particular outfit, here are some of the images that inspired me:
First is this one of a mother and her little boy. I think the little boy is wearing shorter cut trousers since you can see his shoes and socks so well, but I like the detail of his button on blouse and the waist treatment of the trousers.

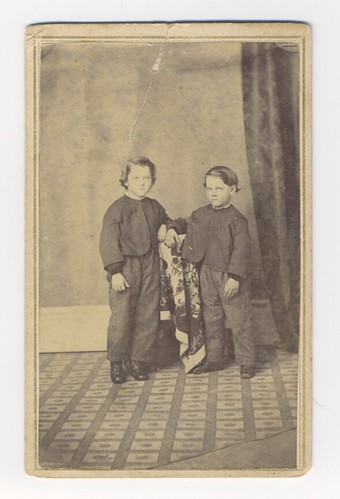
Second is this picture of two boys wearing similar outfits. I love this one - it reminds me so much of David and Judah!

Third is this one of another mother and her little boy. I can't tell if the boy is wearing a skirted tunic or if it is a button on blouse but I like his necktie. And the fit of the mothers dress is just gorgeous.

Fourth is this little fellow. Look at his trouser legs- it look like a large tuck has been taken up in each leg! Perhaps a hand me down that was too large for him to wear as it was? I love his printed shirt and the white collar.
 And this one is one of my favorites - two boys dressed very similarly. I love their coats and will probably do similar ones for the boys as I work more on their Sunday outfits, which will be gray/black plaid wool trousers, a button on white shirt and a black wool jacket with dark red taffeta neckties. I hope to get a good chunk of that work done today.
 So, here is my take on this style of outfit. I didn't take any photos of Judah wearing his (which is basically the same, except his shirt sleeves are cut on the bias and he has a yellow necktie instead of a dark red one - scraps left over from Malachi's gowns!) since he was taking a nap yesterday afternoon and I didn't feel like waking him up and then waiting a half hour before he got over his just-woken grumpiness.
 His bear comes with him almost everywhere. He kisses his bear. It's not PC but oh well, at least it is not a purple Barney doll or something visually jarring like that.
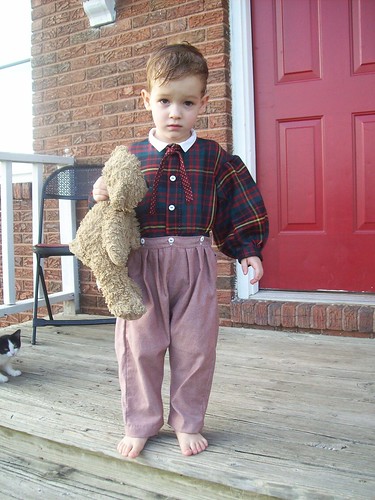 I wasn't sure how to make the button blouse. It seems like a transitional style so I wasn't sure if mens cutting/styling would be more appropriate or womens. So I made it like the dress bodice of a childs or womans dress, with the shoulder and side seams slanted towards the back. The neck is bound with bias and I tacked in a little strip of cotton for a fold down collar.
 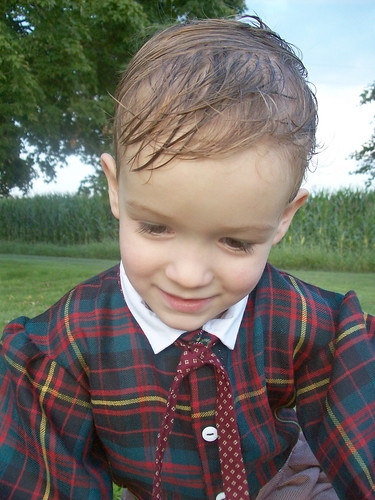 I love the fabric I used for the shirt - a very lightweight wool. The plaid on it is pretty large but it seems to work all right. I like the colors. Even though it is a dark fabric the cheerful lines of color through it really liven it up and make it look cheerful.
  Here he is after climbing on the hay rack. He is getting better about holding still for a few seconds so I can take a photo of him. Heck, he even smiled for this one.
  I think he was getting a bit weary of being photographed by this point, though. My goodness, what extensions of the mouth to project such wailings sounds of protest!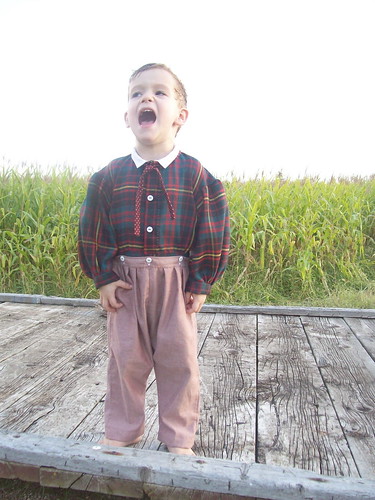
One outfit down, one to go. . .
Love,
Sarah


 The bodice has a jewel neck and is gathered at the waist and is quite roomy. The sleeves are gathered bishop style and are joined to a closed cuff band. I am somewhat of a pipe-aholic so I piped the neck edge and the armscyes and the bottom edge of the waistband even though, due to reading on the Sewing Academy, piping is not necessarily necessary for childrens gowns. Hey, I like how it looks. But I tell you, piping teeny little armscyes in dresses is *not* fun. That was the worst part of the entire construction process. Usually I handsew piping into baby armscyes but this time I used the machine. It's actually faster and easier to do it by hand. It looks like there is a pucker at the armscye in this picture but its just a fold in the fabric; thankfully no puckers resulted from machine-sewing the piping in.
  Here is the yellow dress with one of the pinafores. The pinafores are a little short, I think but I had to use the fabric I had on hand. I had a yard of this green cotton print but the lady who cut it did a horrible job on the cutting. The ends were both cut on *extreme* angles so by the time I evened it all out I had a lot less fabric than I wanted. But it works. It will keep Malachi's dress clean and that is what matters.
  The Half-Blood Print Gown:
 So yes, that is a stupid name. And yes, I've been on a horribly dubious Harry Potter kick lately. (I even dreamed about H.P. a few nights ago) But this cotton does sport a lovely deep blood red color with little tan and white designs.
 So that is the breadth of my sewing accomplishments this weekend. I did acquire a work table for my sewing room over the weekend, as well as a lovely bookcase for the sewing spot to keep things tidy. Hopefully I will not get behind on my other projects!
 Next are the stays and the petticoat. Malachi has just one soft stay but I did make him two petticoats. The stays are corded with cotton crochet thread and they are not tight fitting. This is the first time I've made baby stays and I really like how easy they were to make and how they will hold up the petticoats. Honestly, making a petti-chemise is easier and faster but I wanted to try out the other options since I don't know when we'll have another baby to make clothes for! The petticoats are very full and have three 1" tucks so they can be let down quite a bit. They will close with ties and then will button to the bottom of the corded stays.
 Here is a close up picture of the corded stays. The outer layer is a soft striped white cotton I had in my stash (the stripes are woven in) and they are lined with the plain white cotton sheet I used for the rest of Malachi's underwear. There are side seams but the rest of the stays are bound with bias binding and the back opening is self-faced and will have a buttoned overlap. I'd like to add some embroidery to them eventually. If I have time tonight after the buttonhole marathon I might add a tiny bit to the side fronts.
  In between sewing bursts I did get Judah's cap finished. It came out a bit differently than I wanted it to but I had to make an emergent shaping detour while shaping the back seam since I was running out of yarn! I tried it on him while he was sleeping last night and it fits well, although it is a bit large. It should fit him for a while. I now have technically no yarn in the house and I feel a bit freakish because of that. I need to get some more! I want to make Malachi some leg warmers and I want to knit little David a hat as well.
 This post is quite long enough, don't you think? :) I should be working on marking those buttonholes! Have a lovely afternoon!
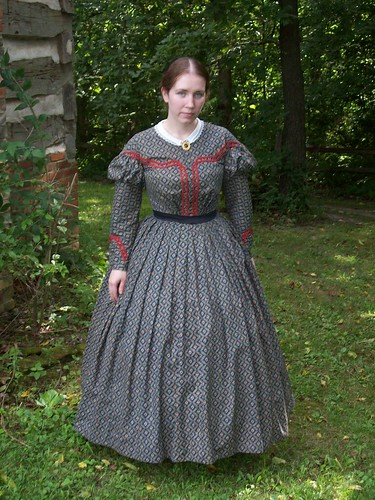 This is the one I made back in June but never got around to getting any good pictures of it. The trim is inpsired by a dress from the Graceful Lady website and I really like how it came out.
 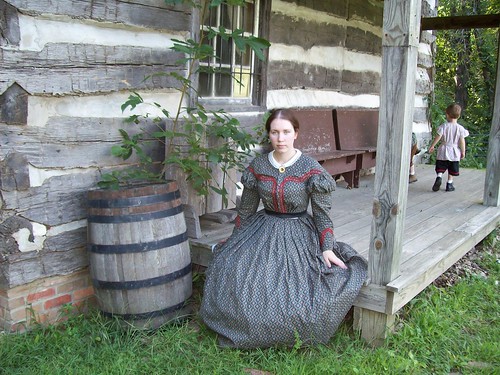 I need to shorten my corset though. I didn't realize this until I wore it the other day. It needs to go down by an inch and a half and then it will give a much better line, I think.
 Here is a back view. I don't understand why I'm getting those horizontal lines across the back. That seem to indicate that it is too tight but this is the same pattern I've made my others from and I've never had that issue. . .oh well!
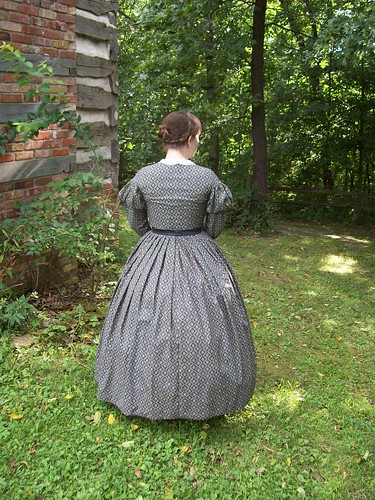 It's a good thing its a dark, busy print. There are two small splotches of hair dye on the skirt from when I dyed my hair back in June (its all washed out now) but thankfully it is hard to tell that they are there. Another reason why I love dark prints!
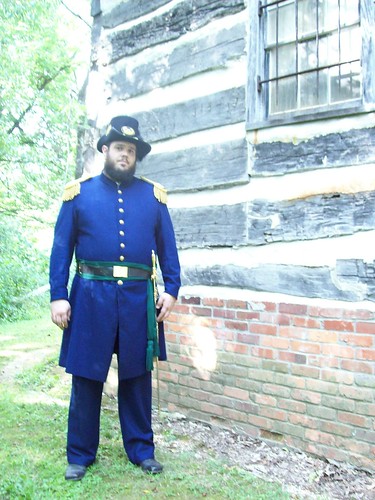
 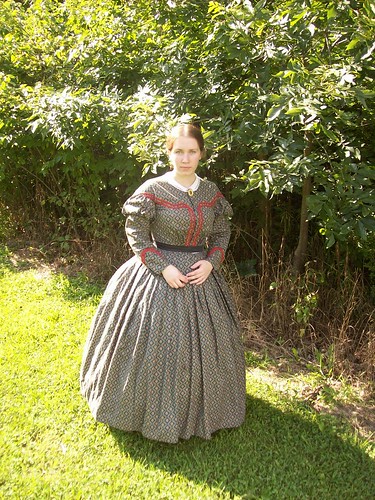 Here are some of David. He finally got his sword belt in the mail so he can wear his officers sword now. He looked marvelous, if I do say so myself! What a handsome man he is, don't you think?
 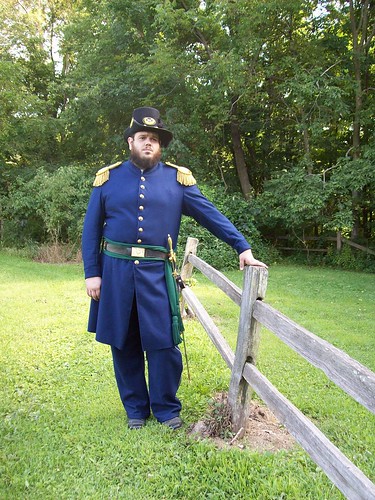 Now to finish his other frock coat before the end of September. Then hopefully I'll be done sewing federal stuff for him for a while.
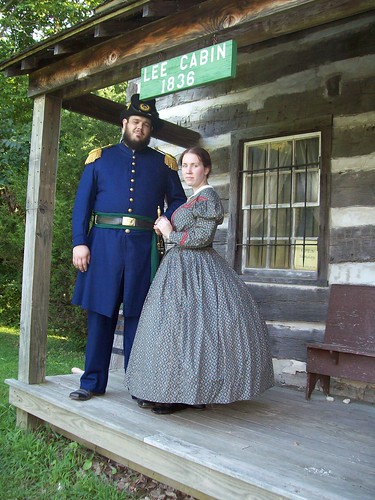
  And thanks to the timer, we even got a photo of both of us in the same picture!
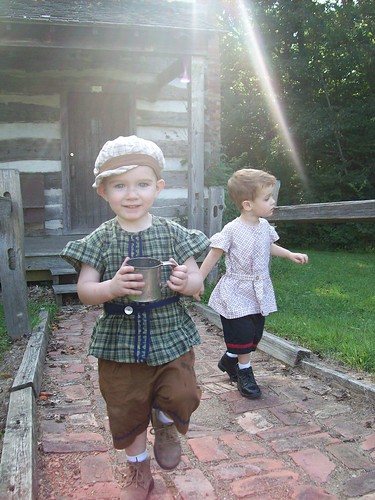
  The Boys: David and Judah loved exploring the area around the cabin and the woods beyond. But they couldn't go too far.
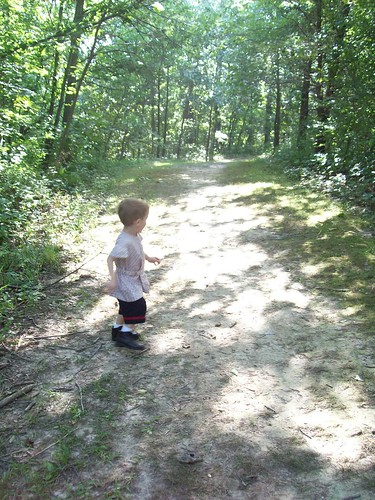 I put Judah in a tunic outfit of Davids this time since he completely rebelled against wearing his dress! I think the time has come for Pants for Judah. The particular arrangement of his hat and exact angle of his hat brim was his own doing. He feels he alone can correctly place his hat upon his head and any attempts of mine to set it straight were in vain.
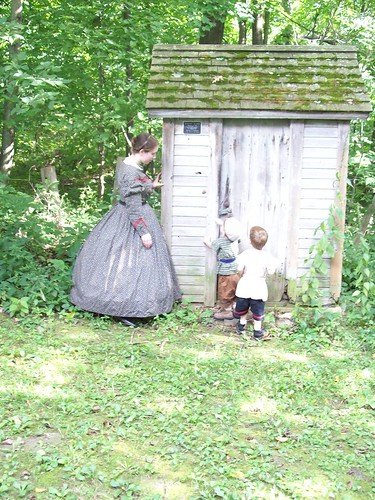
 They both found the outhouse fascinating. I believe the object of their fascination was the lock on the door.
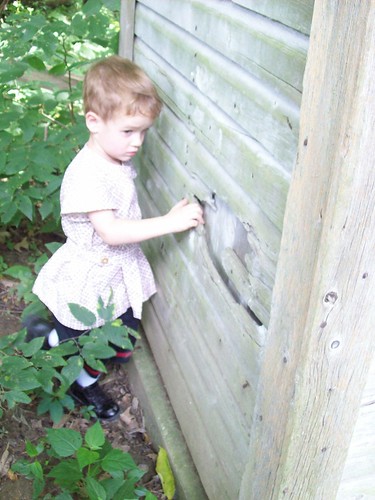
  David went behind it to see if there was an alternate way in.
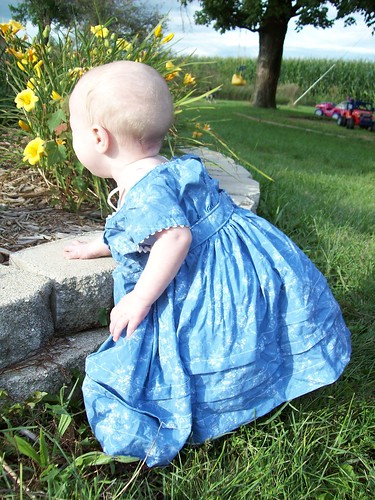
  Malachi by the flowers at home. Poor thing,he had just waken up from a nice nap and this was the only picture I could get before he began to wail in hunger and frustration. I'm so glad his gowns still fit him. The tucking of the skirts was a bit of a difficulty since the closer you get to skirt gathers the harder it is to place tucks! The job was at last done and although the skirts are still a bit long they are short enough where he can get around to his liking. And he will grow.
 So this whetted our appetite for reenacting. The boys behaved remarkably well so we are hoping for a very enjoyable fall reenacting season. Now back to sewing!
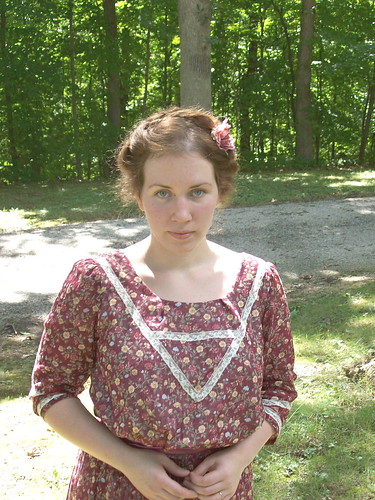
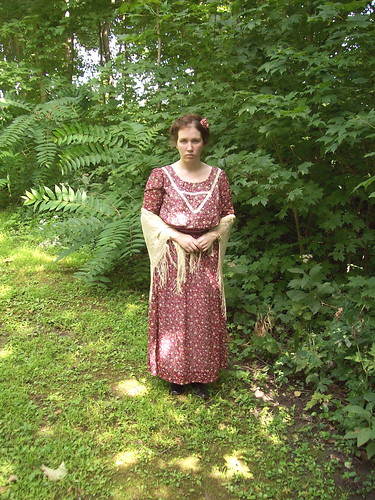 I like the finished dress although there are a few things I would change on it if I were to make it over and that I will definitely change on my next one from this pattern. The first is the neckline. It was too wide for my shoulders so I had to take a little tuck on each side of the neck so it would not gape open in an unbecoming and immodest manner.
 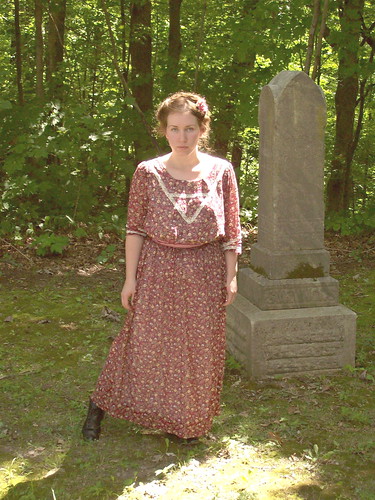 I also think the bodice is a tad long. There is too much puff at the waist and it obscures for the most part the pretty satin sash which is actually quite wide. This also obscures my waist which makes me look horrendously Fat. Thank you, wide hips. Not that my waist is terribly small by any means, but its smaller than my hips! I think a period corset would help the overall look a lot. That, and shortening the bodice.
 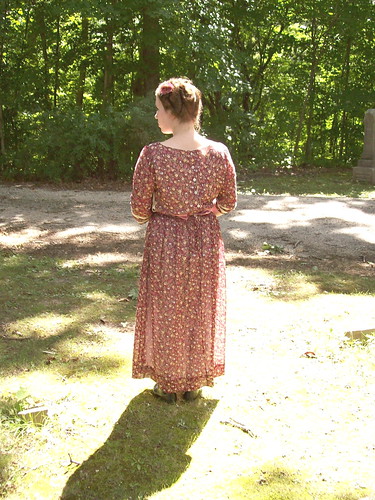 My hair really isn't long enough to up that well so I parted down my whole head and each side I divided into three shanks. Starting with the shanks on the top of my head, I twisted them upwards and draped them across the top of my head and pinned them in place. I repeated this for the remaining shanks and pinned in a silk flower at the end. Ta da. Not period correct but at least old fashioned looking.
  The shawl is likewise a modern one that my mother in law gave me. But since this is not a totally period outfit anyway (just "inspired-by") I thought there was no harm in wearing it. Wearing a shawl makes one feel so lady like.
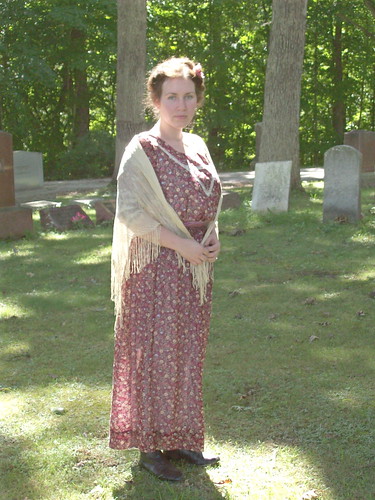 I wore my black Civil War boots but would eventually like to get some high heeled cream colored "granny boots" to wear with it instead. But that will be after Malachi is old enough to walk on his own. I just can't wear anything high heeled while I have to carry him about.
  And so, that is all! What kind of a hat would you all suggest for this dress? I do hope I can find one eventually!
 The chemise is the first garment I put on when I am dressing for an 1860’s scenario. The chemise is made of white cotton and is very loosely fitted.
  My drawers go on next. They are made from Mrs. Clarks free pattern and feature tucks and cotton lace at the hem. They are a tad long, I think. I must have miscalculated my tucks but I didn’t feel like shortening them once I had the tucks in and the waistband on. They are roomy and have a split seam - the crutch seam is left open, instead of being sewn shut - and are gathered to a fitted waistband. It seems to be a matter of personal preference if you wear your drawers beneath your chemise or if you tuck your chemise into your drawers and wear them on the outside, or even if you wear drawers at all! I prefer to wear mine beneath my chemise as it seems more sanitary, but that’s just me.
 The corset goes on next. Mine is newly finished (yay!) and was made from the Laughing Moon Dore Corset pattern. This is a shaped seam corset and is very easy to sew because it does not have gussets. The corset is made from a sturdy herringbone weave white cotton twill with an embroidered pink linen decorative layer on the outside. Bias bone casings are sewn to the inside and the bones were simply slipped in. Since I use this corset to nurse Malachi I used hooks to close the front instead of using a busk. This is more flexible and it is easier to nurse in. The back laces up with handmade eyelets - I cannot get metal eyelets to go in the right way so I just handsew my eyelets. Right now I’m using shoelaces to lace it up but cotton corset laces, available online from corset companies, would be better. The corset supports the bust and provides a consistent shape for the fitted dresses that are worn over them. I do not tight lace and wearing a corset is not uncomfortable as long as it is made to fit you.
 Over the corset you put on your skirt support whether that be a hoopskirt, a cage, or plain or stiffened petticoats. I wear a 7-rung cage from a kit available from
  Over the cage/hoop/skirt support you wear petticoats to give further volume and softness to your skirts. In this picture I’m just wearing one petticoat but ideally I should have at least two. You can get by with just one but I really prefer the look of having at least two. These petticoats can be plain or fancied up with lace or white work or tucks.
 Step 2: Part your hair down the middle. I always have trouble with this. My hair almost always parts slightly to the side instead of exactly in the middle. To make a straight part use a sharp pointy object and run it down your scalp. I used some old bandage scissors since they were in the drawer I opened but a knitting needle is ideal. Or just eyeball it and part. This is easier for some than for others.
  Step 3: Now part you hair again from ear to ear, across the top of your head. Make sure this part is pretty straight, too. I've done my hair at an event and due to seeing pictures after the event realized this part was NOT straight and it looked awful. So make it straight! :)
 Step 4: Grasp you back hair in a medium high ponytail and wind it into a bun. I usually just twist this length of hair and roll it up like a cinnamon bun. You could also braid this part and wind it into a bun but my hair isn't long enough for that yet. If your bun is really small you can do what I did when my hair was shorter. Get a fake shank of cheap hair at Sally's Beauty Supply in a color that matches your own. Braid a length of it and wind it around your small, real bun. It looks fantastic. Nothing makes you feel like a gorgeous, real 186o's lady than a beautiful hairstyle!
 Step 5: Return to your front hair. Grasp one section on one side of your head and twist it, starting at about ear level. Wind this twisted shank around your back bun and pin into place. Repeat for the other side. My twists are pretty pathetic looking because my hair is not very long or thick in the front (my bangs have never grown all the way out to meet the rest of my hair) but there are some period solutions for making this section appear thicker by utilizing fake hair. I just go with the pathetic looking twists. It's easier and more comfortable (fake hair is scratchy).
 There you go!
  Side View:
 If you have little wispies that fly away no matter how much you smooth and comb your hair then you can use pomade to keep your hair nicely in place. It also gives your hair a shiny look that you often see in period photographs. There are places online you can get pomade but for now I just use a jar I got at the empire of Wal Mart for a few dollars. It works really well. This is the kind I use:
 Now that your hair is nicely done up you can top it off with a lovely pleated ribbon hairnet or you can leave it perfectly plain. On to the underclothes in the next post!