Monday, August 10, 2015

Finishing the Corset Shell

I am plodding along at a semi-consistent pace with this corset. I keep telling myself that I need this in two months PLUS EVERYTHING THAT GOES OVER IT, but for some reason I don't feel that panicky must-get-this-done-NOW feeling I used to get when I had a lot to do before an event. Good I guess? But it's not helping increase my productivity. Alas.

Here's where I am now. I have the back sewn to the front, the back edges finished and most of the boning channels sewn. I have the cording channels sewn and corded on the front but not on the back. 


After sewing the front corset I stitched in the boning channels and then the cording channels. This was frustrating. For some reason it was impossible to get the cording channels on both sides symmetrical. I had to end up ripping out the many little seams on one side and resewing all the cording channels after measuring the ones on the other side. I hated that, I felt like I had wasted so much time! At last however the deed was accomplished and I ended up with this: 


The back was really simple to do. I pressed under the back hip gusset opening seam allowances and pinned the gusset on, just like the front:

The hip gusset sewn in.


Next was to sew the back corset pieces to the front. You can sew this seam by doing a flat felled seam but I like to do it the way I show here, since it saves on time and looks very tidy. First, take your back lining piece and lay it down, right side up: 

Then lay the front piece, right side up, on top of the lining piece, matching side seam. 


Then lay the corset back right side DOWN, on top of the corset front, matching side seams:

So you are left with 3 layers, all matched at the side seam. Pin this seam: 

Sew it: 

Trim it: 

Then fold the back corset and back corset lining out. This completely covers the seam. Press well. 

To finish the back edges, turn the seam allowances in towards each other and press and pin: 

Both sides pinned: 

Stitch very close to the fold. I then sewed a channel for a bone right along the edge. This will support the eyelets. 

To finish the hip gusset, press under the seam allowance on the back lining and pin into place, covering the seam allowance of the gusset and slip stitch into place, the same as the front gussets.  

After this, the depressing thing happened that I ran out of thread. Darn! I won't be able to get to the store til tomorrow or the next day to buy more, so I decided to while away the afternoon by inserting the cording in the front. To do so, I used a pointy upholstery needle big enough to thread my cording through (the peaches n' cream variety). Work the upholstery needle through the channel:
All of my channels ended where crossed by another seam, so I had the pointy end of the needle emerge just before the end of the channel, on the lining side of the corset. 
The little holes left by the needle close up very well when steamed!

Pull the needle through.

Clip off close to the end. Leave a little bit of the tuft hanging out. When you stretch the fabric over the cording channel ever so slightly, the tuft will pop back into the hole. 

And here is the first side of the corset corded. I still will need to sew and cord the back cording channels when I get more thread. 


I really like the texture and visual interest the cording adds. I just hope it all works - one never knows with a corset, until its all done and tried on! As of now I have both front sides corded. I may start working the eyelets soon. Generally corsets of this era use metal grommets but I don't have a good grommet setter and find eyelets much much easier to work than setting rommets and just as sturdy. 

Here are my little helpers! One was just falling asleep as the other was waking up. I thought I'd have some time when both were sleeping but it seems fate did not agree. ;)


Love,
Sarah

Friday, August 7, 2015

Sewing In the Gussets and Busk

After a quiet and rainy week and a few other sewing projects to finish up I finally had a chance to sit down today and work on my new corset. It wasn't terribly exciting; gussets and busks aren't the most interesting things but for me they are some of the most tedious things to sew.

Not that they are hard, either. They aren't. It's just that, well, they're tedious. Because they are so exact. And when sewing in a busk, at least, one is in danger of breaking the machine needle. (I have lost many that way. Even when using a zipper foot.)

I just did the gussets on the front parts of the corset today. The corset is extremely simple in cut being only in two front and two back pieces. The rest of the shaping is achieved through the use of gussets, which widen the main pieces in necessary areas - the bust and the front and back hips.

First, I pressed down the seam allowance to the inside of my main fabric pieces.
Bust gusset slits!
Hip gusset opening

Then, overlapping the gusset slits onto the gussets, pinned them in place.

Stitching extremely close to the fold, the gusset was sewn into the front corset. This is the part that takes the longest for me. I take one stitch at a time and go pretty slow. It's so easy to veer even a little out of line and then the look of the corset is ruined. And gussets look horrible when you have to rip them out and resew them! So I try to get them in right the first time.
Finished bust gussets!
Finished hip gusset
They aren't perfect, but don't need to be ripped out, either! Yay!

Aaaaand, the other side was sewn the same way. I did not put gussets in the corset lining since I plan on this being a double layer corset with single layer gussets. It's how I've made my last few corsets and has worked out well.

So, putting in the busk was easier and quicker than doing the gussets. Sew lining to front, right sides together, leaving openings to slide in the clasps:

Finished seam.

Press seam open and flat. I like to topstitch down the front of the seam.

Slide in the busk, and pin in place.

Then stitch around it neatly with a zipper foot.

The other side is done the same way, except instead of a seam with openings, little holes are marked and worked on the front of the corset so you can insert the studs of the busk.

Then, the busk is stitched around to hold it in place as well.

To finish the lining, I pressed under the seam allowance on the gusset slits and pinned them to cover the seam allowance of the gussets.

I slip stitched the lining in place...

and gave everything a quick press and now its starting to look like a corset!


I'm super relieved that this part is done. The fun part will be doing the boning and especially the cording! Due to some huge life changes and shifting of priorities and schedules and lack of "me" sewing time I haven't made a corset for almost two years, I was really worried I couldn't make a corset anymore. I don't know why - sewing is one of those things you don't forget, right? - but I was sure it would be really hard to make another one. It's nice to ease back into projects you used to enjoy and find it isn't so hard to try to pick up where you left off! Gotta build up my confidence again on projects like this. 

Happy weekend!

Love,
Sarah


Tuesday, August 4, 2015

A New 1860's Corset

I have been thinking about making a new mid-19th century corset for a while now. With an event coming up in October that I hope to attend, a new corset has become a mandatory project. Over the last two years I've gotten out of reenacting and sold almost all of my things. Now need to sew up a whole new wardrobe. (well, wardrobe may be a bit too ambitious of a word. I will be content with one complete outfit. For now.)

I knew I wanted to make a corset with both cording and boning this time. I was stuck for a while on what pattern to use, but when I came across the pattern I used for my last corset I decided to go with it. It worked out so well last time and it will be nice to not have to fit new mock ups and fiddle with draping and drafting. So, this corset will be yet another version of Simplicity 2890. 
I spent a while looking for original examples of corsets that use both cording and boning. I found it a harder task than I thought. I've always "heard" that an 1860's era corset can be corded AND boned but I haven't found any documentation of that. Purely corded corsets? Yes. Boned? Abundant. Both? Difficult. It is made more difficult since when using digital images to conduct research, the appearance of cording in a corset can often be confused with narrow whalebone or steels. So unless there are really good close up photos of a garment it's sometimes impossible to know what materials are being used. 
This lovely corset came from an eBay auction and is described as being a riding corset and as being piped. Dated to the mid-19th century, its shape is consistent with the cut and shape of other corsets of the era. The auction description also indicateds that this corset has a few "broken bones" so this may be documentation of a corset using both boning and cording for support. 
My desire to use cording in addition to boning is two-fold. Number one, cording really does provide a great amount of gentle stiffening and body to fabric. It prevents unsightly wrinkling that can sometimes occur between boned areas. Number two, it just looks freaking cool. 
I'm not sure where I saved this image, so please let me know where to give credit! This corset appears to be tightly corded in between the bones. 

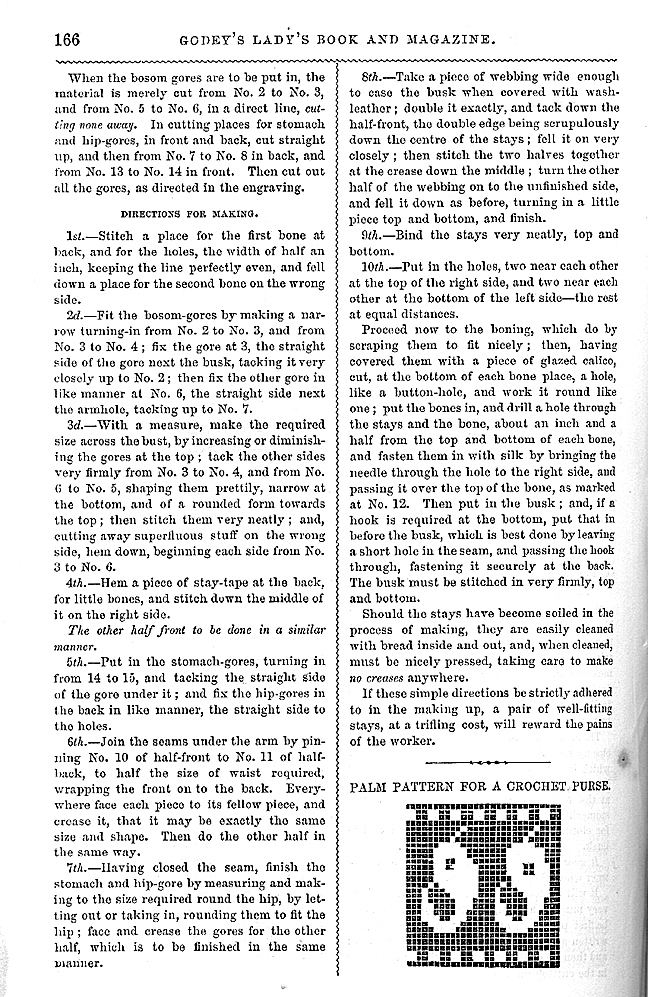
After the heavily boned stays of the 18th century gave way to softer corded corsets in the early 19th century, the more structured looks of the 1840's onwards necessitated a stiffly supportive undergarment to provide a smooth torso base for the very fitted bodices of the time. Dresses fit quite tightly to the body (with a few exceptions - loose fitting wrappers and gowns for maternity and apparel worn for hard physical labor come to mind) and a purely corded corset would not provide the extremely smooth, tidy line required by fashion. Even the 1857 Godey's pattern and instructions for stays call for the use of boning for support, rather than cording. 

This beautiful tiny corset from the Fashion and Costume History site is described as being made for a girl. It is completely corded for support with the exception of the front busk and bones at the back to support the eyelets.  The date for this corset is the 1870's.
Cording was still used for garments that did require some amount of stiffening, such as petticoats, sunbonnets and stays for babies and children. And, cording does still show up in some corsets.

The eBay listing for this corset is no longer up, so we just have the picture to try to gather details from. Is this corded? It appears to be, though perhaps later than the 1860's. Is it boned as well as corded? That is harder to see, but it looks as if it might be if you look at the seams bordering the corded bust area. 
There was also a movement for healthful corsets in this period that frowned upon the use of tightly restrictive undergarments. The example of the riding corset above gives credence to the idea that a corded corset was used for more physically active activities. This leaves questions like; were corded corsets used because they were more flexible and comfortable to wear when performing physical tasks? Were they worn because they were considered more healthy/less restrictive? Were they worn in combination with boning to provide a medium ground of support? Was cording used in corsets purely as a decorative element?

This photograph from National Trust Images gives us a tantalizing back view of a corset that certainly appears to be both corded and boned. The image is meant to display the cage rather than the corset, so it is hard to see many details!


These are questions I will keep looking for answers to. But the time has come to start my corset so I am going ahead with a boned and corded corset while not knowing all the answers. I plan to use cording to add some stability to the fabric between the bones and to add a fun decorative touch.

 
So far I have the corset cut from my fabric - about all I could do while the babies were napping or otherwise occupied!
And the busk, zip ties for boning and the cord I will use.
Next up, sewing in the gussets!


Saturday, August 1, 2015

Sewing For My Birthday Girl

My sweet little Anne celebrated her third (third!? how can that be possible?) birthday last month. While she is definitely quite a girly girl, she is also very much a tomboy. While her brothers gifted her with matchbox cars and barbie dolls she specifically requested a "doctor coat" so I decided to make one for her.

I used a thrifted white cotton sheet for the fabric and some plastic buttons recycled from an old garment. The collar came out a little awkward  but all in all I was happy with the finished coat. It has three big pockets and is roomy enough to allow her a little bit of growing room. Of course, white is the absolute worst color to put on an active preschooler. Already is full of marker stains and dirt stains and food stains, but hey, at least I can bleach it!

So far this is the only picture I have of her wearing it - she's in constant motion so it's hard to get many pictures of her!

I also made her a fluffy pink tutu. She has a little sparkly turquoise one that she has loved for the past year but it was getting small and dingy. I bought a few yards of tulle and some satin for a waistband and used the fabulous tutu tutorial at Starlight Masquerade to make her a birthday tutu. She was very happy with it!

The only thing I may add to future tutu's is a little underskirt sewn in with the waistband. It would eliminate the need to wear a skirt, shorts or leggings under the tutu and would protect the legs from being scratched. 

Happy birthday baby girl!