Friday, April 4, 2008

Judah Baby In His Dress

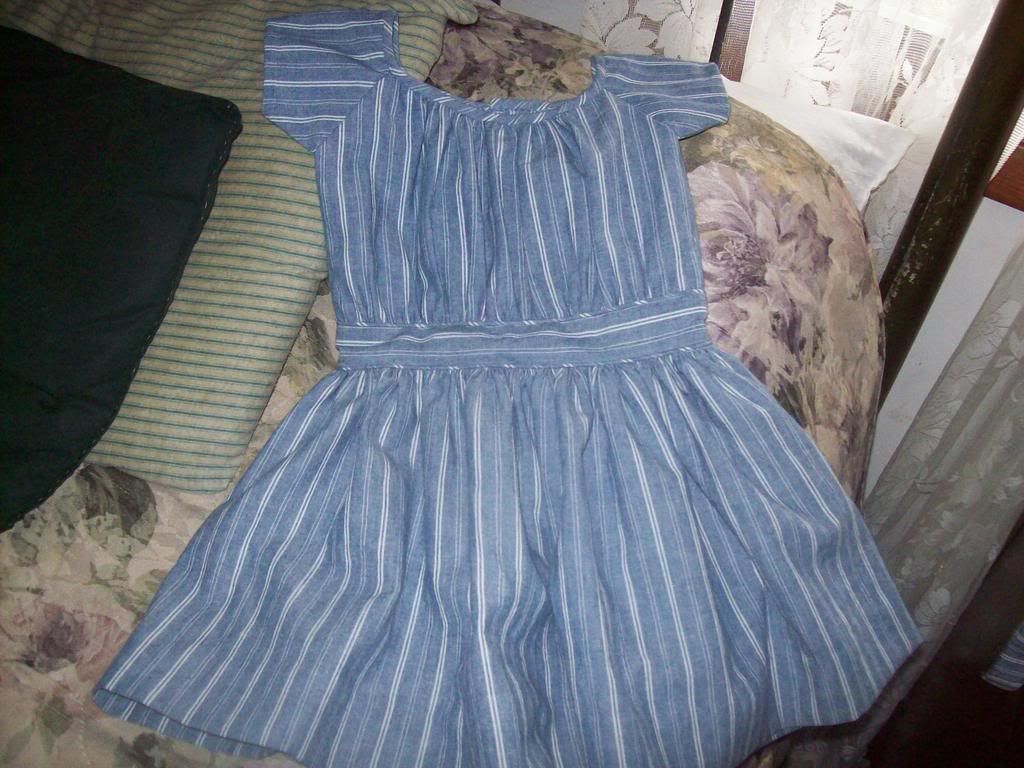
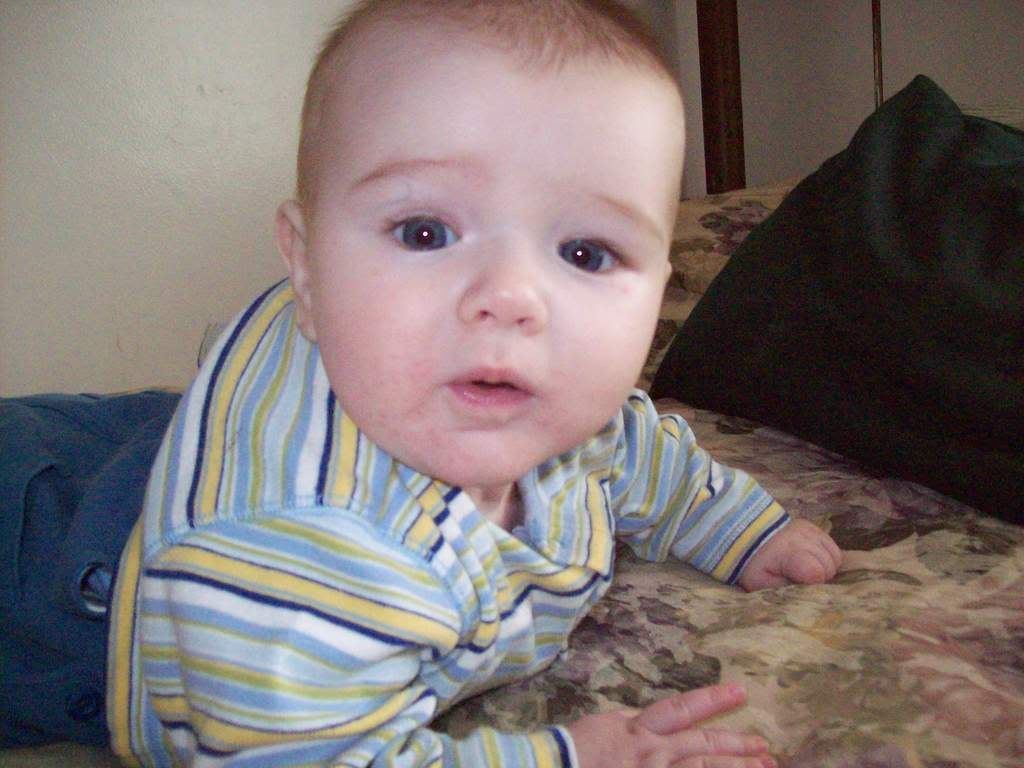
Well, instead of making pinafores I decided to try the dresses on the babies and take pictures. Little David was NOT cooperative, prefering to try to tip over the rocking chair on which his brother was seated (and, alas, almost suceeding). Here is little Judah, who now can sit up and who also has his first tooth! I don't know where his other arm has disappeared to in these pictures but I assure you he has all his limbs intact. :)

Tuesday, April 1, 2008

Oh Scallops, Scallops. . .

I was very happy with the progress I made on the dresses today, in-between playing with my sweet wee ones and putting the drawers back in my sewing desk that the baby decided to take out and empty, and hunting high and low for my spool of white thread that the said baby made off with and deceptively Hid from me. He prefers real things to toys. After all, they are more interesting. It is very interesting to unroll thread from a spool, undoubtedly!

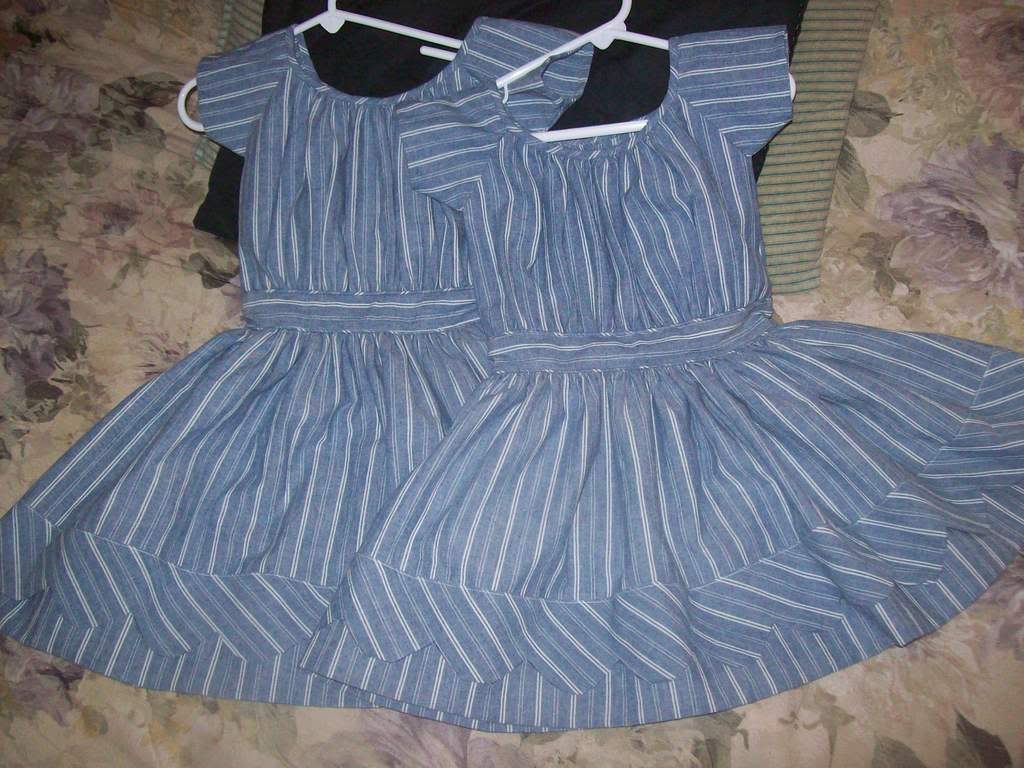
The skirts were easy to set on. I used a full width of the 60” wide fabric for the skirts. I was afraid 60” would be too skimpy but they turned out just fine. The material is a little heavier, anyway, so the stiffness makes the skirts stand out nicely. The scalloped band was incredibly fun to make.
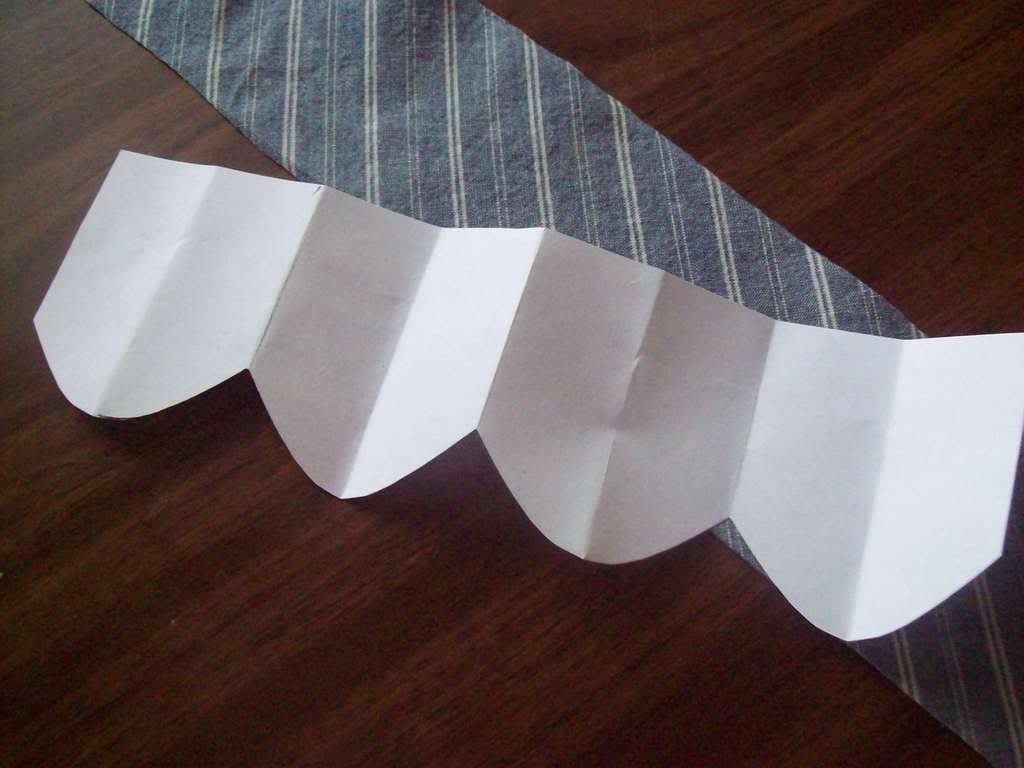
First I made a template like this, by folding a piece of paper into eighths and then drawing half of the scallop on the fold. Cut out the scallop, and there you go! A template.
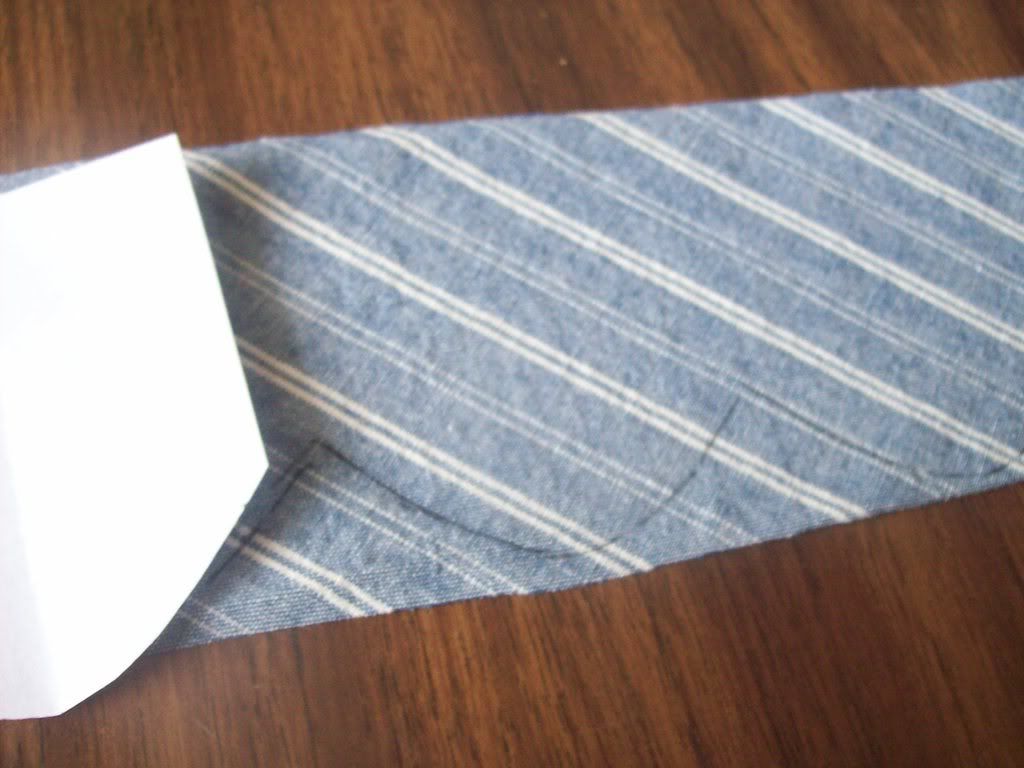
I then traced the template onto the strip of bias fabric (3 ½” wide)
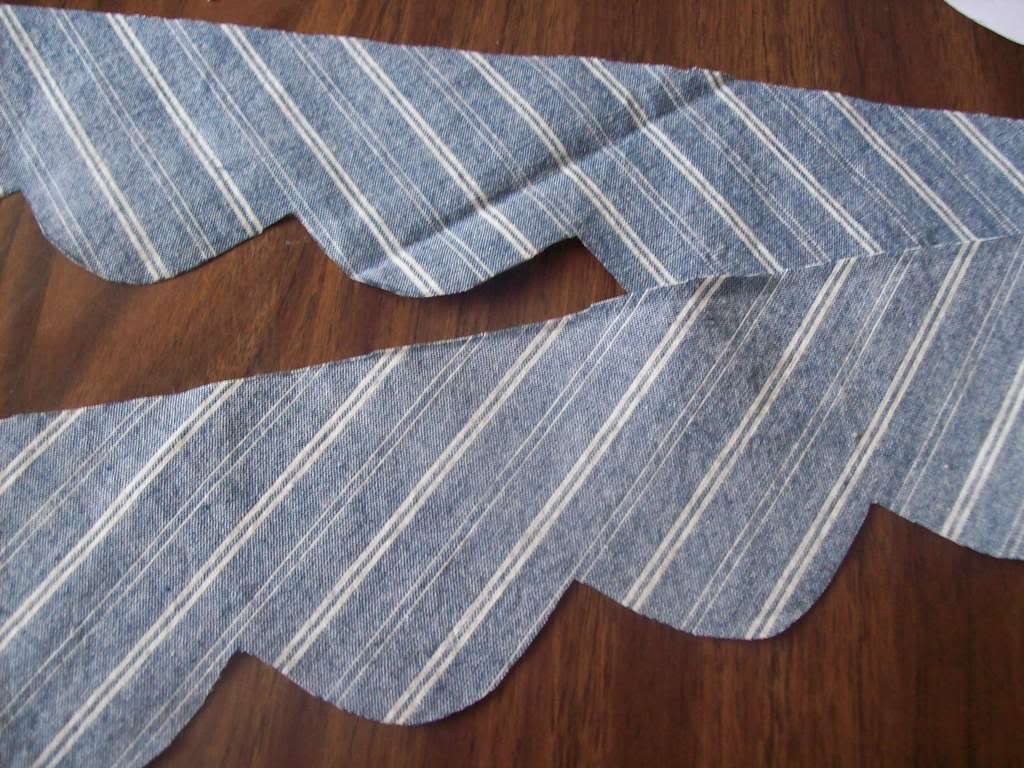
And then cut it out.
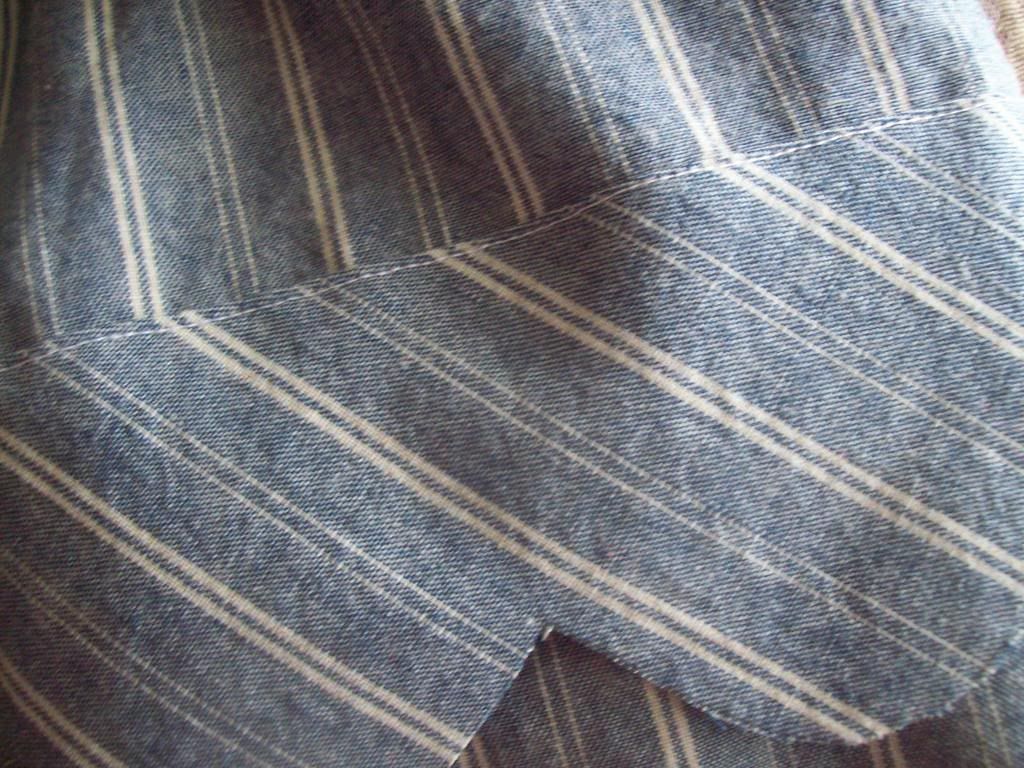
Then I folded over the top edge of the bias band and stitched it to the skirt.

I still am not sure how to actually bind the scallops. I tried several different methods earlier but none of them worked out. I’m thinking the self fabric bias binding I made is just too heavy because of the weight of the fabric and I might need to make binding out of a lighter fabric, so in a nice trim color. White? Red? Black? I think perhaps black and red would look nice and boyish.

And here they are with the band attached. I think the band really makes the dresses have character and makes them different from just a plain old dress.
That’s all I did for sewing today. I still need to add buttons or hooks to the backs of the dresses, but I don’t have any appropriate buttons right now and I don’t have any hooks either. Hmmm. I think a trip to the fabric store is in order tomorrow when we go into town!
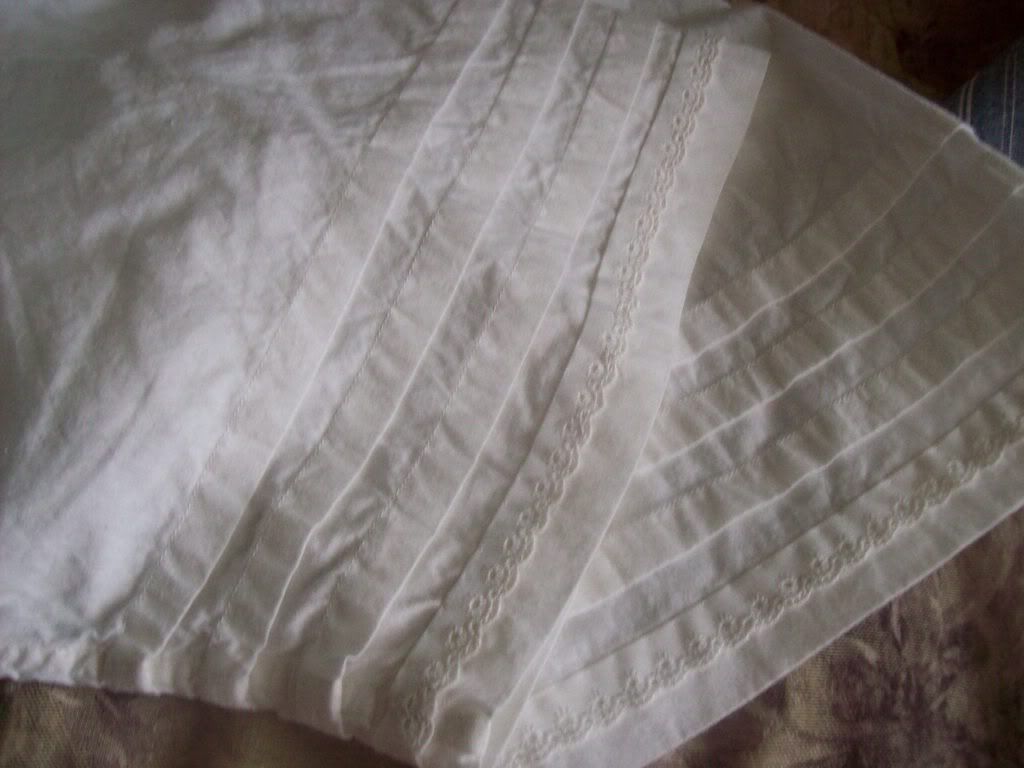
Here is a picture of my finished drawers.
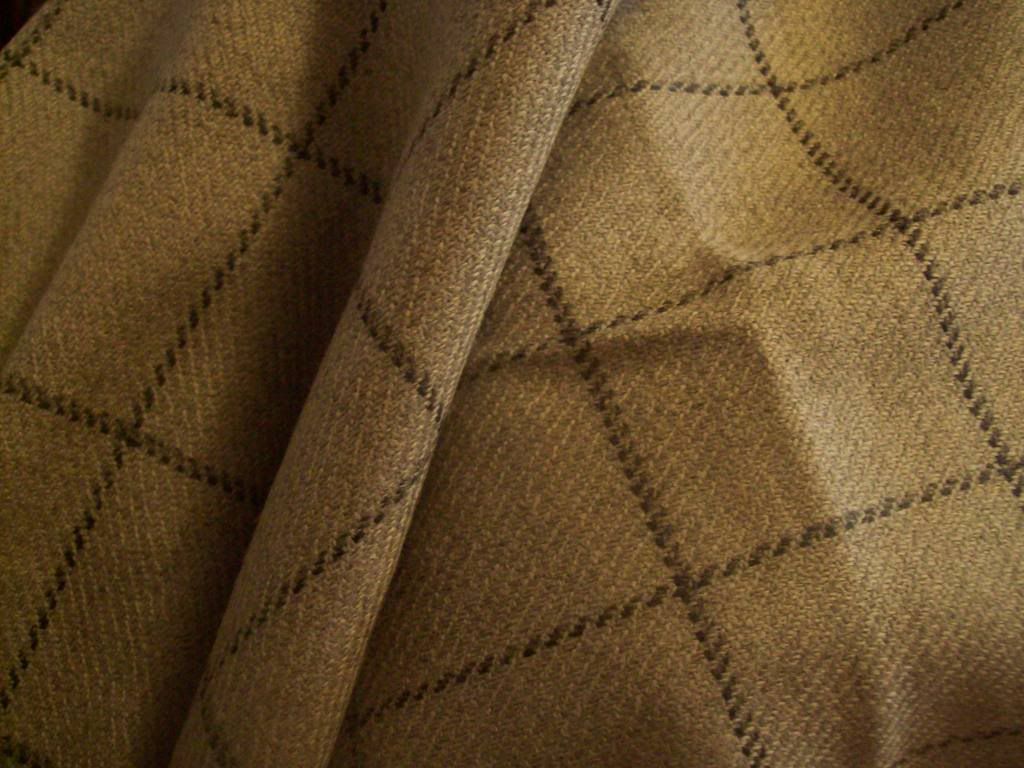
And some of new fabric I recently got. Plaid silk, and some wool from eBay that was intended for baby coats. Alas, the wool is really too heavy for baby coats. I think I’ll use this wool and the babies will have coats made of my green flannel cloak that I intended to take apart and remake into something more appropriate for the 1860’s. I REALLY want to get the silk made up for my Sunday dress before our first event in a few weeks, but I don’t know if I’ll have time. Hope so! I’ll try! I really don’t have much left to do. 

Saturday, March 29, 2008

Constructed Stockings


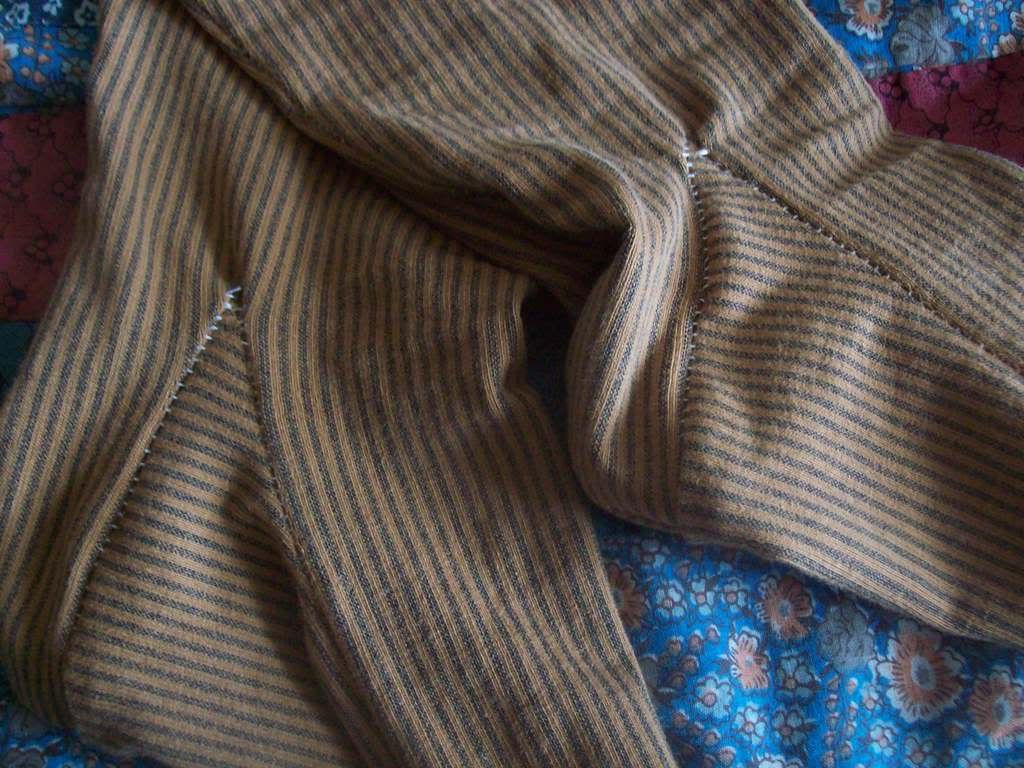
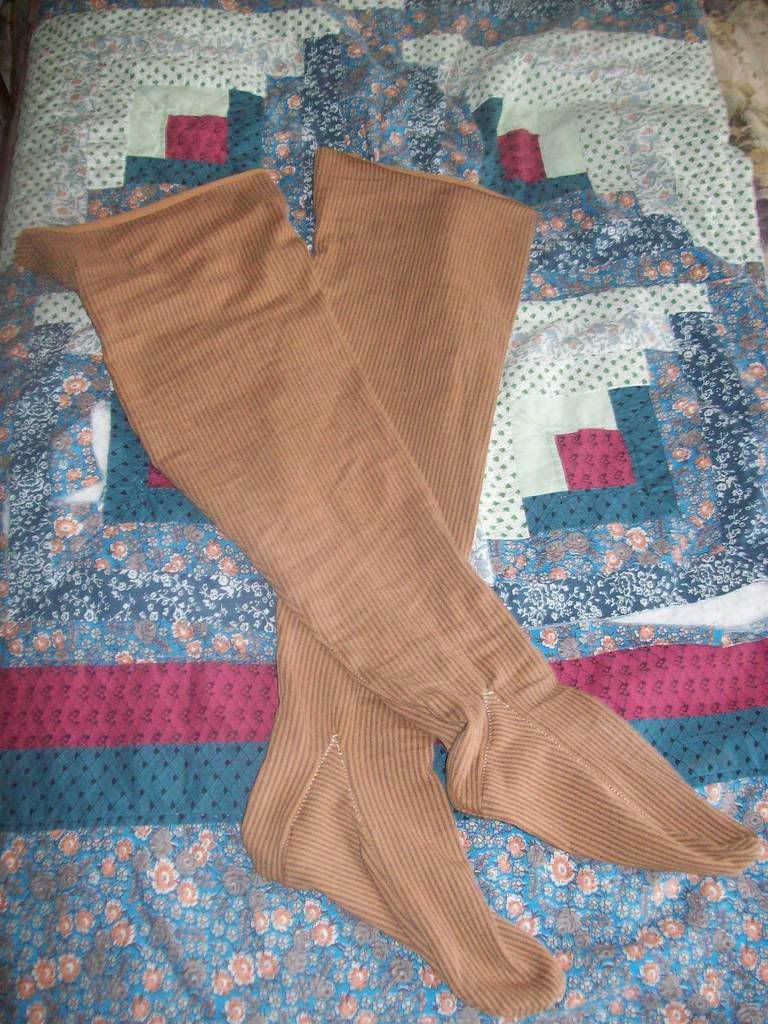
I intended to finish my new drawers today (and still do intend, alas!) but after stitching the hems and tucks and trying feverishly to press the chronic wrinkles out of the tops of them I gave up, washed the separate legs over again and am now hoping their second cycle in the dryer will help relieve some of those dratted wrinkles. (NEVER wash an entire twenty-five yards of muslin and dry it all at once. It will twist and become terribly wrinkled in the twisted places. Plus it will make your washing machine hum strangely and then galloop strangely.) So this afternoon I got out my new Kannik’s Korner stocking pattern and decided to make a trial pair, to see how they would fit and feel.

What can I say? The stockings went together with incredible simplicity and ease. After ascertaining that I was not really any particular size I followed the instructions on how to create my own custom stocking pattern. The finished stockings fit exactly right and are so comfortable. Bravo, pattern!

My material was an old cotton knit dress. It was a thing of hideous aspect but I saved it faithfully knowing I could use it for SOMETHING and it came in quite handy. Mustard-brown and black stripe. I used to wear it with a dark blue quilted vest, back when I was Weird and Trying To Be Different in my late teens. I sewed the stockings with a small zig zag on the machine, as the pattern instructed for machine stitching and I sewed the very corners of the sole by hand.

Obviously, I need to improve my skill in that area. There are some small puckers. But I will learn.

I could only make these just above knee length since my dress wasn’t long enough to make the thigh-high stockings. Well, next pair I make I’ll have enough to make them that long. I will still need garters, I think, but these fit so much better than the standard old white stocking that sutlers sell. Plus I think they are Very Cool and would make a snazzy addition to a modern outfit.
I’m going to see if I can use the same custom instructions to make patterns for David and the babies. Never again will I buy another stocking for living history purposes. I have found my sock destiny.
Love,
Sarah

Friday, March 14, 2008

The Romance of Red Piping


O Coat of Mine Husbands
How Do I Love Thee?
These Feelings Which Spring from Within
My Husband Loves Thee
Not For Beauty of Thine
But Because that Thou Makes Him Look Thin
But Ah - O My Love!
O Coat of Sublime
A Much Greater Reason Have I!
To Fondle Thee Is Such a Pleasure
My Love -
I Swoon, I Murmur, I Sigh
And When In the Dusk
I see Thy Gray Form
Spotted with Blood that I shed
(From Needle-Pricked Fingers)
I’ll Tell You, I Love
Thee For Thy Sweet Piping In Red

Wednesday, March 5, 2008

Poor Etta


My artsy side came out today (unfortunately) and I decided, in a highly optimistic frame of mind, to try my hand at making a rag doll. It was easy enough to draw out a simple pattern and sew her up and stuff her. I decided to paint her since I have always embroidered my doll faces (the few I have made before) and I wanted to her to have a sort of regency look. Hair, eyes and a simple heart-shaped mouth appeared. Etta (named for my very talented and artsy great-grandma) was cute but I thought I could improve her further. Nostrils, a line to indicate a nose, pupils in her eyes. Rosy cheeks. Cute still. Then I made a critical mistake. I gave her a chin. She gained a hundred pounds before my eyes and the slender young lady became a solid, portly matron. Poor Etta. Anyone know how to remove acrylic paint from white fabric?

Tomorrow I'll make her some clothes but I feel so bad.

Sunday, February 24, 2008

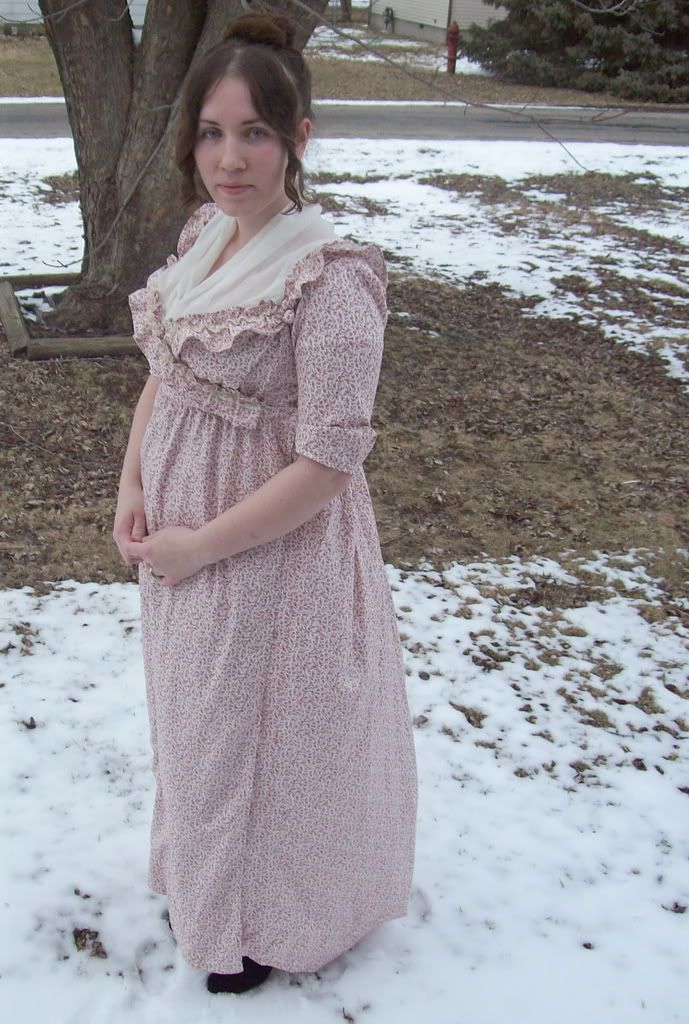
1795-1800 Crossover Dress


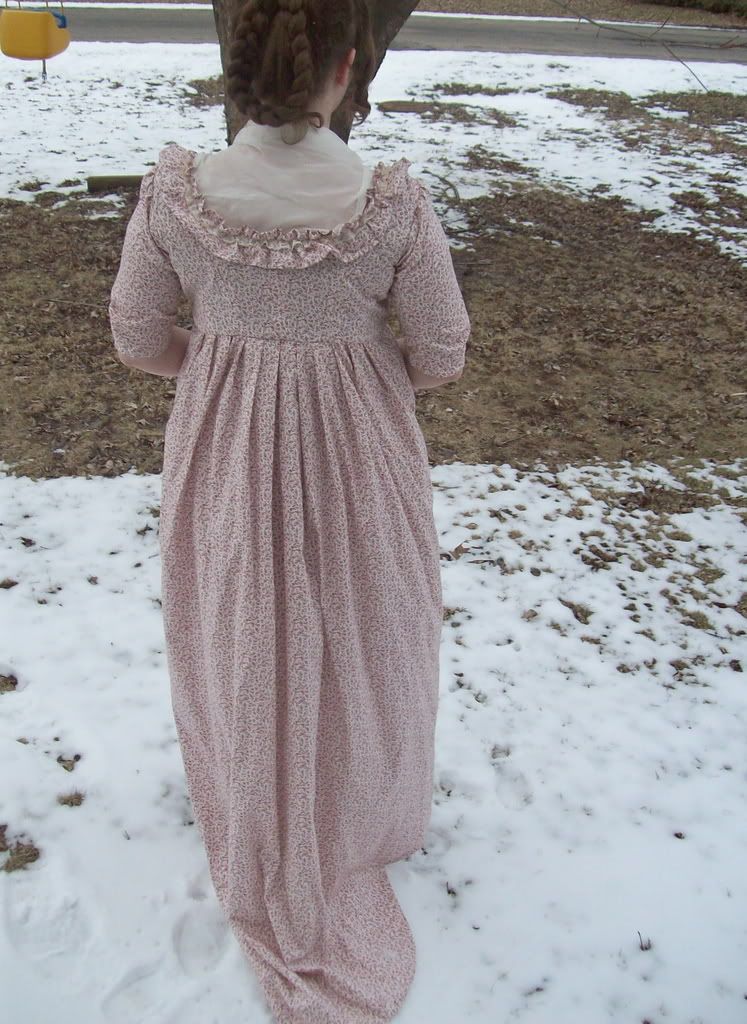
It is good to finish a dress, well in advance of it being truly needed. Although I am sure I will wear this before the next dance I am glad I won’t have to be spending the evening prior to it hastily sewing up hems, attaching hooks and making trim!

I am pleased with the finished dress although it is not exactly the same as I originally intended. It was supposed to be a copy of the half-robe in Patterns of Fashion 1, but I ended up making a few changes along the way besides just lengthening it, as I described in my previous post.

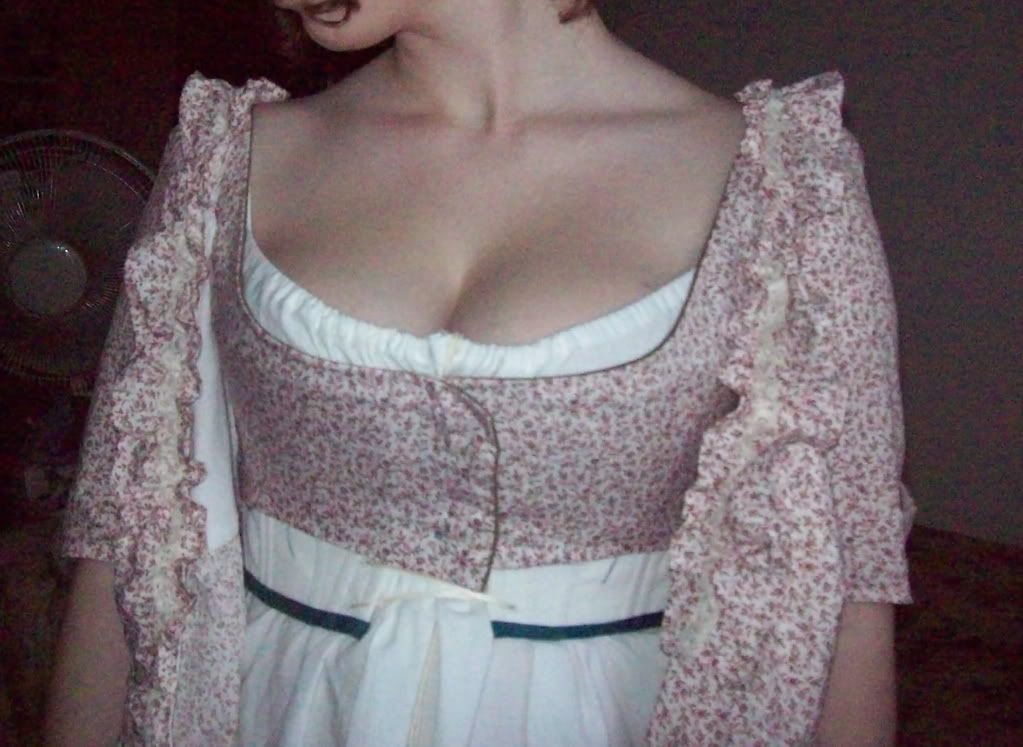
The first change I made was the shape of the bodice pieces. I didn’t feel like scaling up the pattern and then adjusting it to fit me. Rather I used the ‘eyeball’ method and drew out the pattern shapes based on my measurements and the appearance of the shapes in the book.

Although this worked very well for me I noticed half-way through making it that the side back pieces are too narrow at the bottom and the back pieces are too wide. It’s not a huge deal to me, but it’s a difference from the original pattern.


Another change I made was making tucks in the bodice pieces to fit my “waist” (below the bust) since if I did not do this the waist would be very loose. I also made the front skirt pieces a little wider so I could ease them onto the bodice, giving me a little fullness in front in case I ever am pregnant again and wish to wear this during that time.

I also did not follow the pleating diagram on the original pattern but used the eyeball method again. It’s what I do for my Civil War style dresses and it usually works out well for me.

As far as the actual construction of the dress, you can see my comprehensive picture-illustrated journey HERE (see titles and descriptions) I wasn't sure how to put it together in a period-correct way but this was the only way I could figure out how to sew it. Since I wasn’t sure how to put it together correctly I felt it was no big deal if I machine sewed most of it. Finishing work was done by hand but 75% of the dress was sewn on the machine. I did, however, use cotton thread. No shiny synthetics!

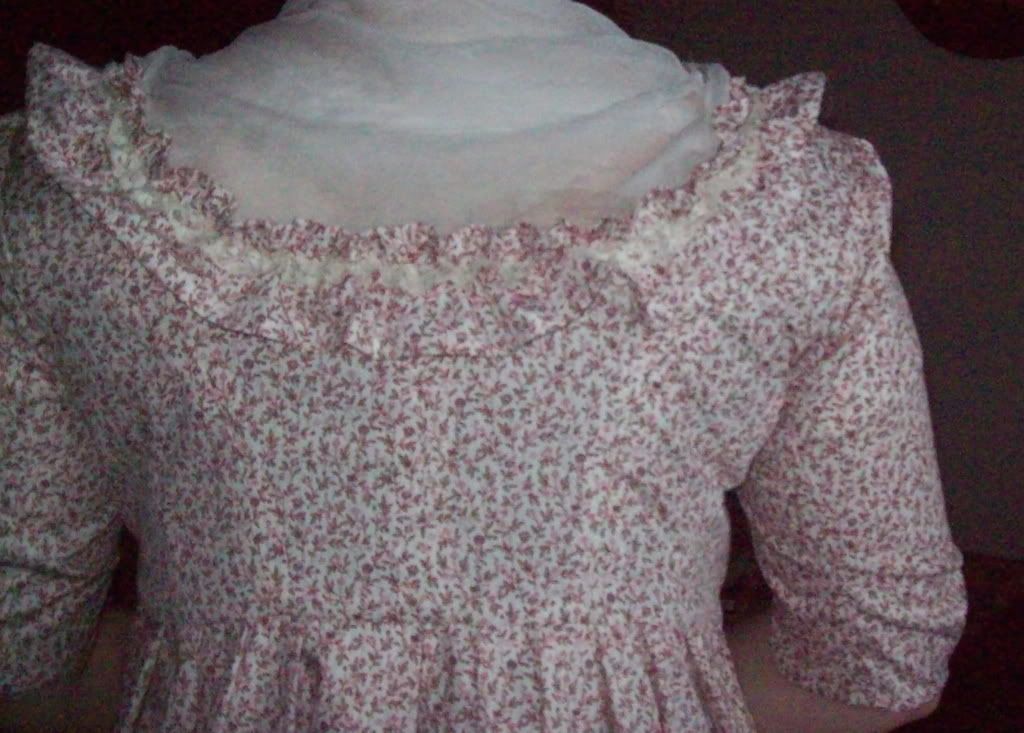
I also deviated from the original in my choice of trim. I found instead a picture of an original crossover dress that had a self-fabric ruffle at the neckline for trim so I took my inspiration from that. The trained skirt on my dress came from the illustration of the gown worn under the half-robe in Patterns of Fashion 1.

In these pictures I am wearing the dress over my regency style chemise, which is based upon the chemise instructions at Across the Ages, and my short stays. I plan on making a petticoat soon for another dress in the works but in these pictures I am not wearing one. I don’t really see a need to, at least right now.

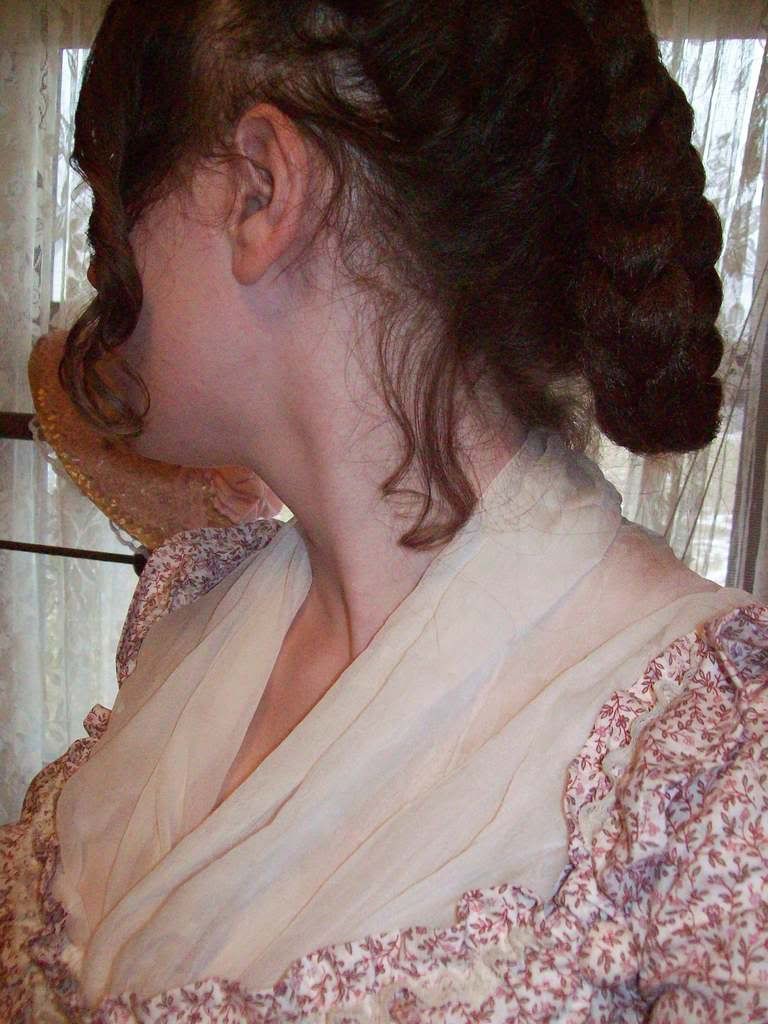
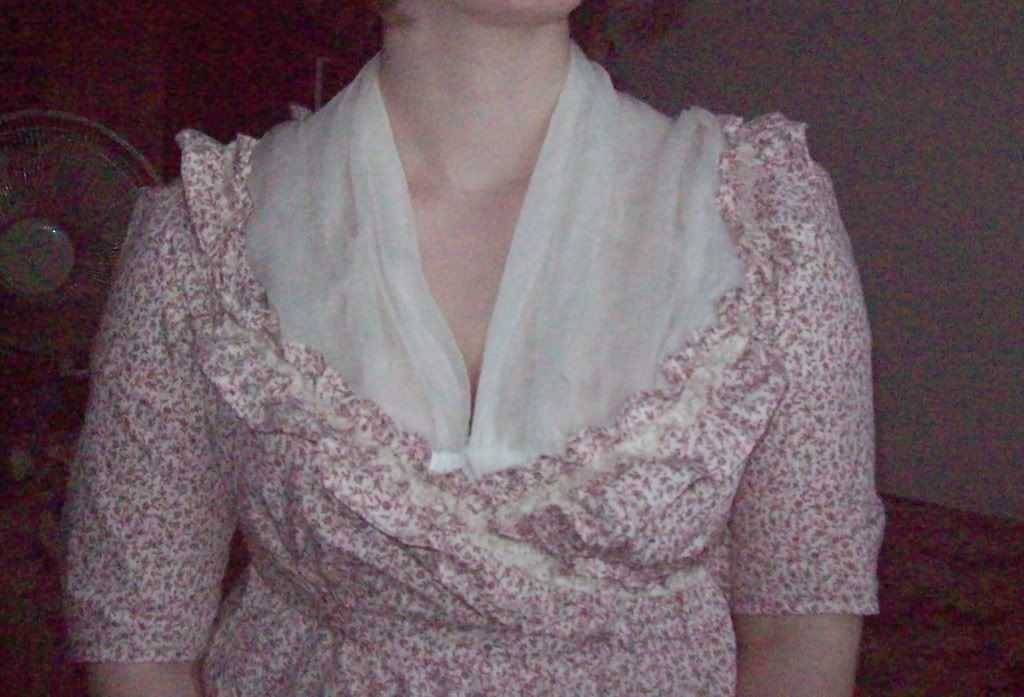
I also had to make a neckerchief since the neckline was a little too low to suit my tastes. It is a square of sheer silk, folded in half and tucked into the neckline.

My new regency reticule goes perfectly with this dress! Now I just need to make a spencer and a new bonnet and I’ll be set for springtime!

Here are a few picture of the dress that David helped me take earlier today. He was not very happy about taking them but did oblige me; so here they are.

Off to bed. I’m tired.
Love,
Sarah

Wednesday, February 20, 2008

Regency Reticule


Finished yesterday -

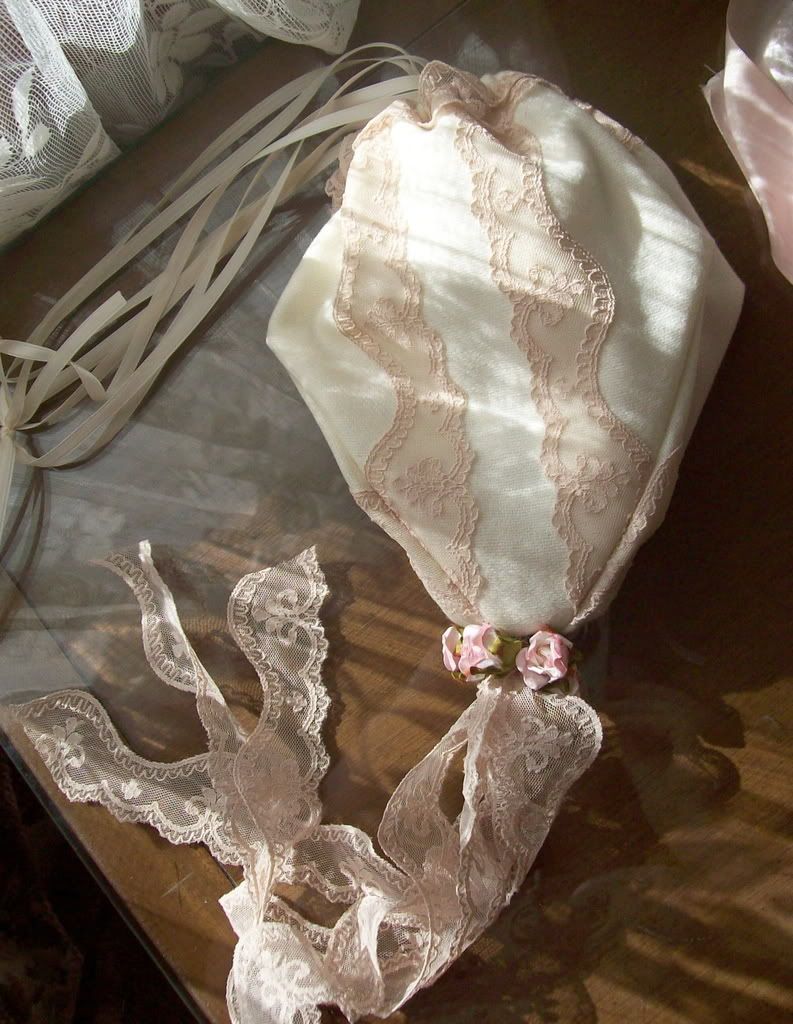
a regency reticule made from Acacia's lovely pattern, done up in white wool, tea-colored lace and white muslin lining. A few pink paper flowers finish it off.


Tuesday, February 19, 2008

Regency Stays and Wintery Days


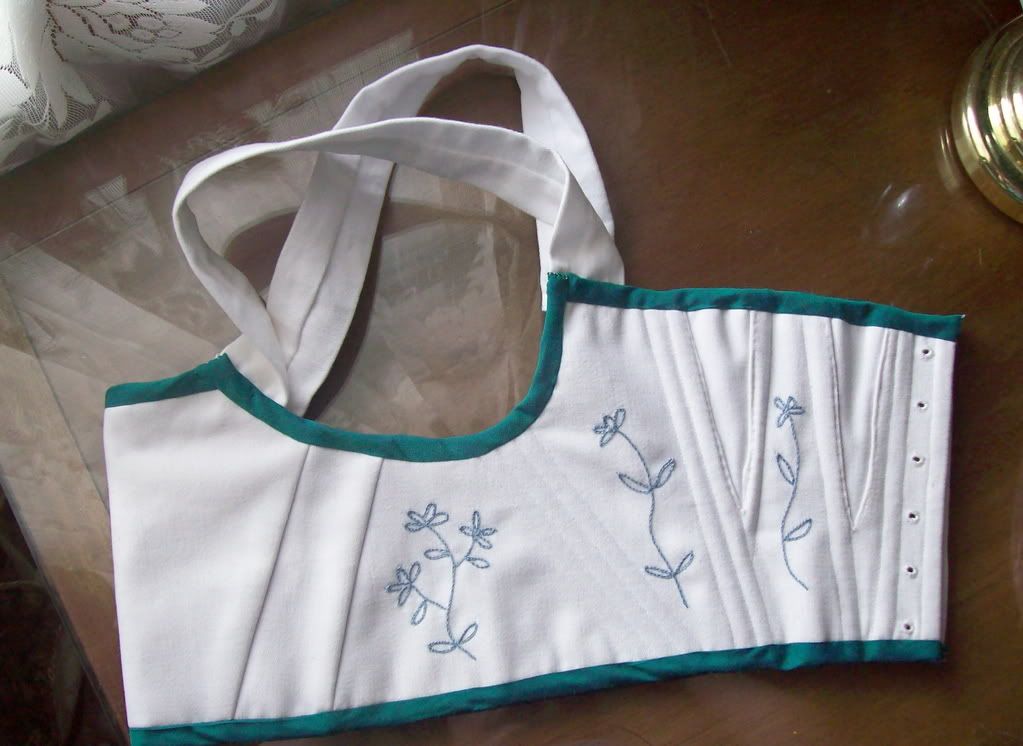
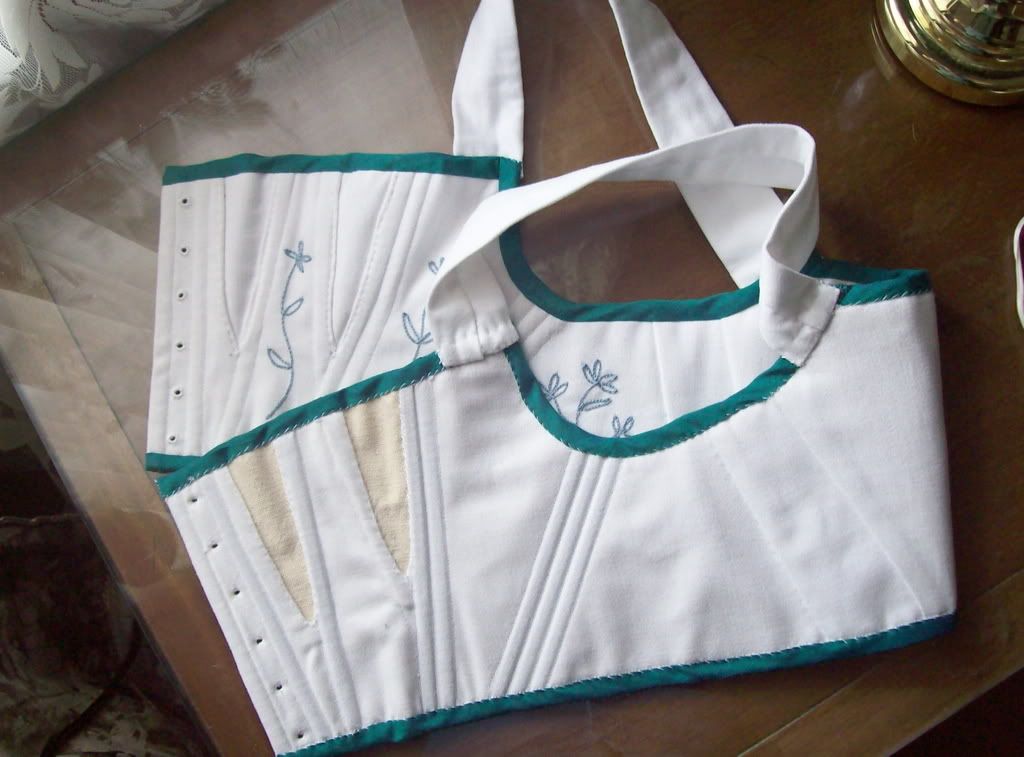
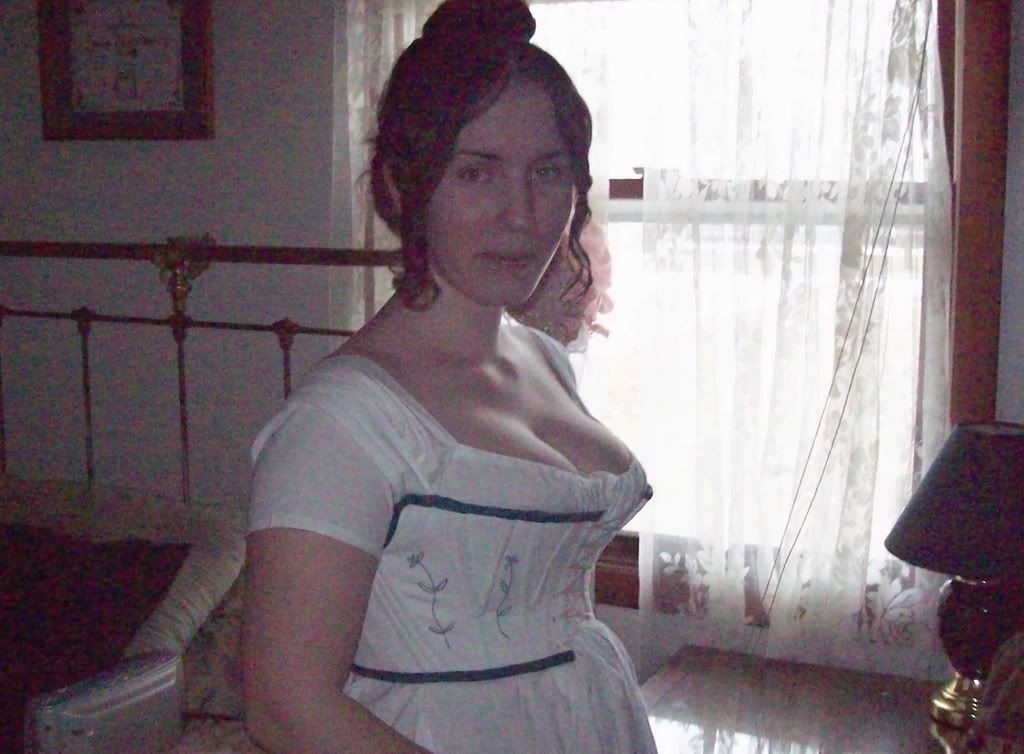
Remember the regency stays I made last summer? Well, I finally grew inspired to make my “real” stays from those which, having been made of uncomfortable as well as rather unsuitable materials, were never worn except for try-ons. Inspiration struck for no apparent reason on Saturday, and yesterday I finished up these new stays, which are very comfortable and I am sure will be worn often!

Perhaps my inspiration stemmed, unconsciously, from the series of Jane Austen movies that PBS has recently been playing on Sunday evenings. I have watched almost all of them and again fallen in love with the regency style. My only prick of doubt comes from my husbands opinion of the regency style which he says look like “glorified nightgowns”. I begged and implored him for reasons why he objected to me wearing such styles and at last he told me that it is because when I am “into” an era other than the Civil War, he is afraid I will want to stop reenacting with him! NOW, since we got THAT settled, he seems actually somewhat interested in mens regency fashion and wants me to make him an outfit!! Yay!!! I recently discovered an English Country Dancing group that meets in a nearby city so perhaps we will have occasion to wear these new clothes to an appropriate event, rather than eliciting stares and sometimes comments from people at Wal Mart, where we have been known to wear our Civil War garb when grocery shopping.

These stays were made from white cotton twill, interlined with cotton canvas and lined with the same cotton twill. I only lined and interlined the gussets. I couldn’t figure out how to sew the lining gussets into the lining so they would match up perfectly with the gussets on the outside, so I just left out the gussets in the lining and slip stitched the lining to the gussets at the seams. It works, for now anyway. If I make more I will try to make the lining with gussets. I just hate making gussets so much! LOL

The edges are bound with green/blue silk and the embroidery is done with blue cotton floss. I wanted to try tambour embroidery on these but having no knowledge of that, and no hook, I instead worked the design in chain stitch, which, I have read, looks similar to tambour. I drew the design freehand but now realize I should have used a transfer pattern for a more uniform look. Oh well. I am not the greatest at embroidery and have not done very much of it in the past. I will learn and hopefully get better as I practice more!

It is a frightfully cold morning here. A light sprinkling of snow fell during the night and the sky has that white-ish appearance it gets when it holds even more snow. A few days ago it was almost fifty degrees. This winter has been rather topsy-turvey to say the least! Like the little girl with the curl in the middle of her forehead, when it’s good it’s good, and when it’s bad it’s horrid! At least it is lovely even if it is very cold. The snow is a beautifying veil to the dead barrenness of winter time.

In conclusion, here are some new pictures of my babies! I was greatly saddened the other day because Judah is not wanting to nurse much anymore. He is five months old now and that is the age when I started his brother on formula. However, in that case, it was necessary since I was pregnant and my milk production was slowing down. That is not the case here, it just seems he has little interest in nursing anymore so he has started some formula. So far he gets a bottle between breast feedings but I have a feeling it won’t be long before he has totally weaned himself from me. The first step in letting go of your children. . .Oh it’s a wonderful, although sometimes painful, thing to be a mother! Children are the greatest blessing in the world! Praise God from whom all blessings flow!


Little David is my sweetheart. (in conjunction with his dear Papa, of course!) Each morning when I go into his room to get him from his crib he is standing there looking at me.


"Mama!"


"Baby!"


I get to fall in love each day. Am I not the luckiest girl in the world?

Monday, September 24, 2007

Vermillion County Civil War Days


My wee little one is ten days old today and every new day (and night) with him brings such amazement and wonder. Did I really carry this perfect little boy around inside of me for nine months? He is so much like his father. His toenails are shaped exactly like big D’s. His hair is dark like D’s, and his hands are perfect matches in miniature.

His brother has pretty much ignored his existence and finds his delight in pulling up on furniture, cabinets, legs and, if I don’t keep the bathroom door shut, the toilet and tub! But he has kissed the new baby three times and has not acted jealous or upset so I think both boys will get along very well when they are older. It’s hard to believe my sweet baby son is almost a year old and already a big brother!


This past weekend D and I took the babies to a Civil War reenactment. We had originally planned to stay the whole weekend but a change of plans allowed us only to go on Saturday for a day trip. The babies were so well behaved and we all had a lot of fun together.

D went last year when I was pregnant with Baby D and I stayed home so he was eager to show me everything. The park is 3,000 acres and covered with beautiful trees, hills, open areas and a large lake. There was a small group of historic buildings constituting a ‘town’, including an old-fashioned grocery, a church, a schoolhouse and a farmhouse complete with a grape arbor. D and I wandered around the town in the afternoon before and after the battle and later that evening he participated in the night firing with our Southern reenacting group, Chesnut Light Artillery, and we both were able to go to the dance at the red barn, courtesy of a very kind Mr. Tim who watched the babies for us!


I didn’t finish the bodices to either of my dresses since I cannot quite yet squeeze into my corset. So, alas, I was a knowing Farb and went corset-less beneath a dress more suited for a teenager. D didn’t mind, however, since he had purchased the bolt of fabric my dress was made of.


One of the most touching experiences was meeting “The Generals” and Gen. Robert E. Lee came over to where I was sitting with the new baby on purpose to see him and it was a “magic moment” for me. The dusky evening, the camp-fire scented breeze, along with the perfumes of dying grasses, the quiet, tender look on his face as he bent over the sleeping infant was so beautiful. D's most memorable moment was seeing Gen. Thomas Jackson serenely sipping a Miller Lite - he still can’t quite get over the oddity of that!

Wednesday, September 12, 2007

"Sunday Best" Baby Dresses, Civil War Style


I don’t think I’m going to get all the sewing projects done that I wanted to get done this week! I still have a coat of some sort to make for Baby D, drawers for both babies, and a hood for Baby D. And I must finish up both of their cotton “Saturday” dresses. Baby D’s is a small blue/black/white check and J's is the fabric posted below.

Anyway, I thought I at least could post some pictures of their Sunday dresses since it‘s been a while since I had a post about sewing. When I tried Baby D’s dress on him today I discovered it is a little long so I will need to shorten it with a tuck or two before our event. Luckily, with J’s dress I don’t need to worry about THAT problem. I love making long baby dresses! They just take so much more material that an older babies dress. The only thing I need to worry about there is making sure whoever holds him while he is wearing it does not stand too close to a fire!

Here are some details about each one:

Baby D’s dress:

I made this dress out of some lightweight dark blue wool I had left over from a different project. At least, I thought it was lightweight until I made this dress out of it! I don’t think I could have used a heavier wool and still gotten away with making a dress this small because the weight factor of the wool seems to increase drastically when used on a small scale. The dress was made taking different features from children’s dresses found in the 1850’s and 1860’s section of The Wisconsin Historical Museum site. (http://www.wisconsinhistory.org/)

It has a jewel neckline, double short sleeves, a pleated skirt and tucks in the bodice to create a little shaping. The waistband is 1” wide and finished with self fabric piping, as are the arm scyes and neckline. I originally wanted to make this dress with long sleeves but found coat sleeves, in this fabric, on this scale, really hard to make plus the baby did not like having his arms covered. So I simply cut off the coat sleeve to make it shorter and that was the bottom layer of the double sleeves.

I used some red plaid cotton cut on the bias to trim the dress at the sleeves, bodice and hem. I still think the wool is really dark and sober but at least the color livens it up a little.


Baby J's Dress:

This dress was a lot of fun to make. It is based on a gown from the Wisconsin Historical Museum site that also has short sleeves and a tucked and lace-trimmed bodice. The gown I was using as my inspiration had more tucks on the bodice and no tucks on the skirt, so I compromised and made tucks on the skirt and not so many on the bodice. (besides, I ran out of room on the bodice to make more tucks!)

The sleeves are set in raglan-style and are drawn at the top with a cord threaded through a tuck. A lady had posted an original gown that had a tuck and cord on the sleeves on Mrs. Clark’s Sewing Academy Site (http://thesewingacademy.org) so I decided to try that out on this dress. I don’t know if what I did is the way the original dress had this done, but I couldn’t tell from the pictures so I guess-timated. I’m happy with how they look anyhow.

This gown was made from an old 100% cotton white sheet. Some parts had rust-colored specks on it so I had to cut around those but was able, in the end, to get the entire dress out of the one sheet.